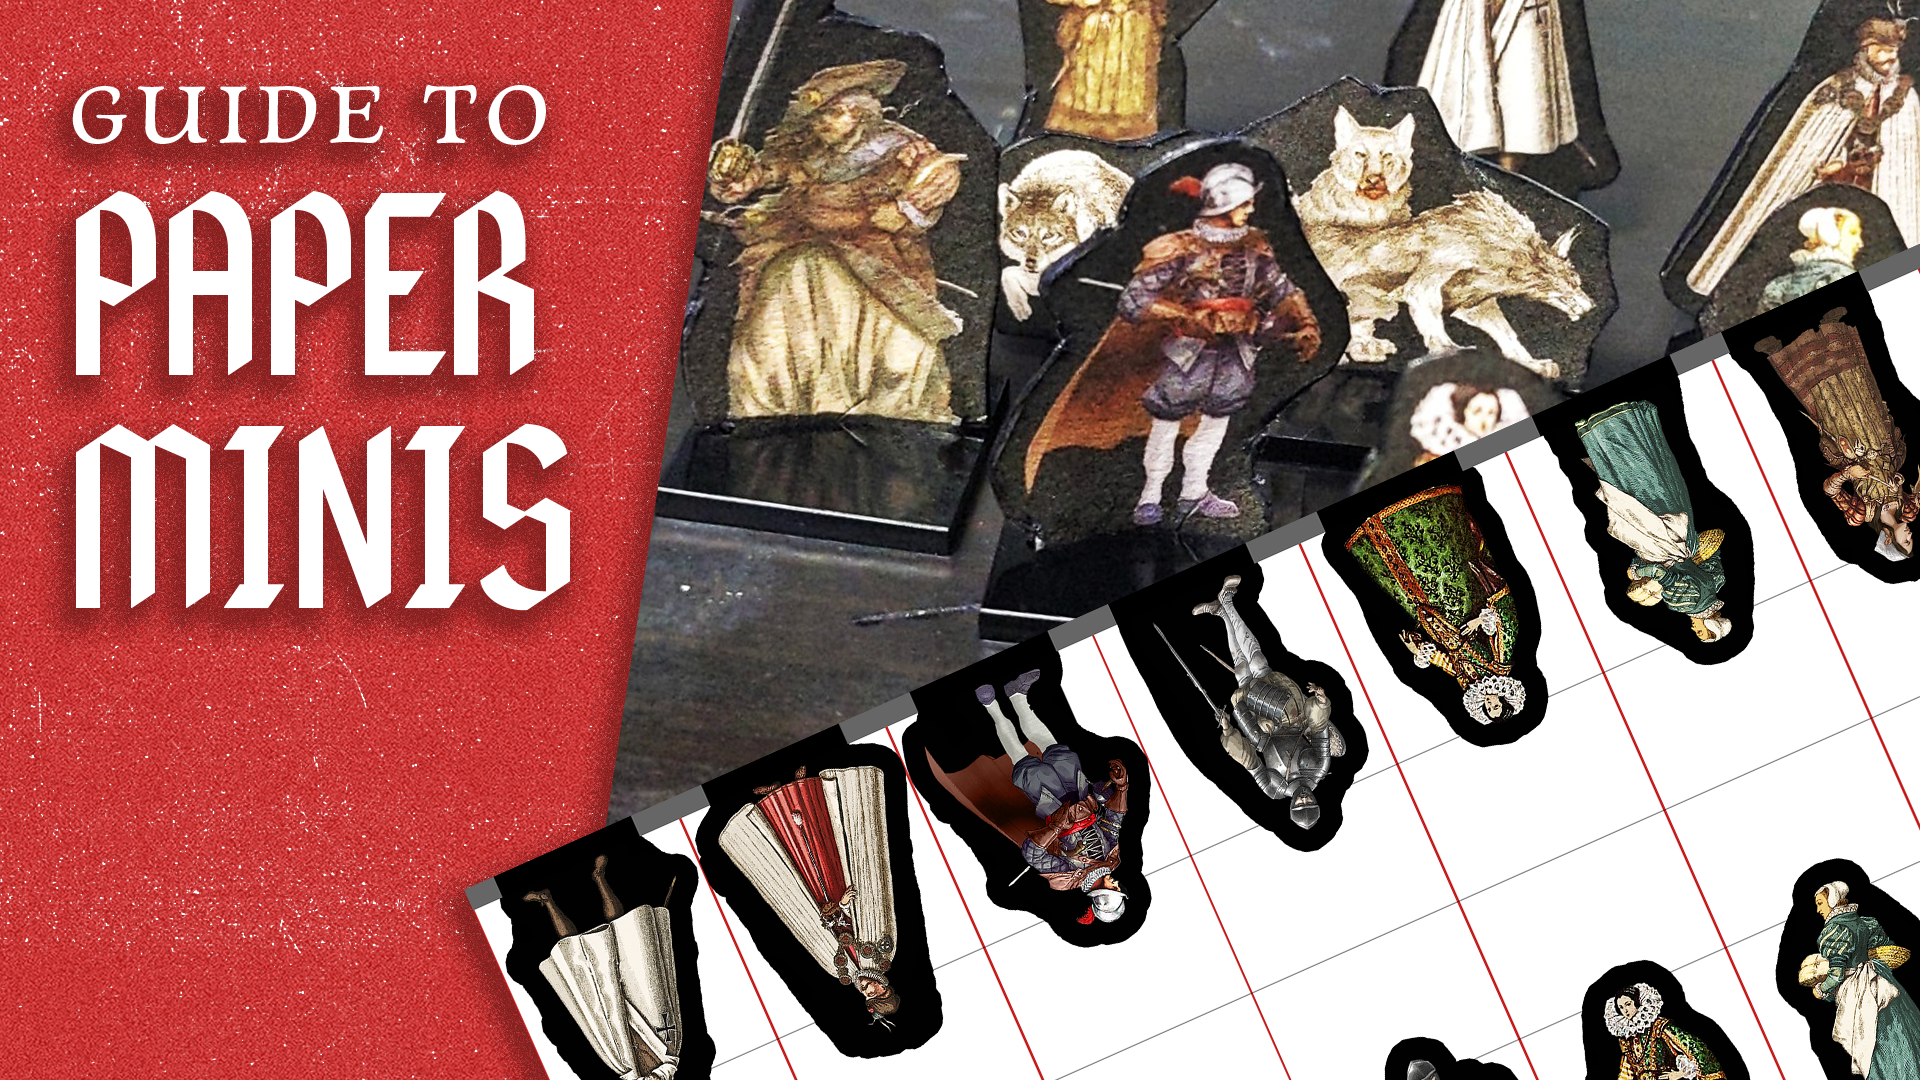
If you follow me on Instagram, you’ll have seen my recent experiments with paper miniatures for play with the tabletop RPG I’m writing, Long XVIth. This is a new experience to me, as in the past I’ve always been a 3D (e.g. pewter, resin, or plastic) miniatures guy.
But with the responsibility of GMing these games, and the potential variety and number of miniatures I’d need to source, paint, and base, I’ve decided to take a more expedient route with the flat paper minis.
I thought they were going to be a less-then-okay alternative that I’d suffer through before eventually making the decision to suck it up and start painting what historical minis I could find.
As it turns out, I’m pretty pleased for a number of reasons:
- Comparatively cheap to produce; printer ink ain’t cheap, but it’s way less than what I would have spent on all the minis I now have.
- Very fast to put together, especially if the image I’m using doesn’t require a lot of editing or clean up. We’ll get to that shortly.
- Small storage footprint; I can store fifty+ minis in a small 6″x7″x2″ organizer box. Try that with 3D minis! It’s crazy!
- And importantly, they don’t look as bad on the tabletop as I feared beginning this process! (Call that an underwhelming endorsement.) Do fully painted and based 3D miniatures look better? Of course they do! But these flat paper minis look alright, and the first three bullet points make the visual compromise worth it.
Here’s my approach to making these paper minis. YMMV.
Step 1. Source Minis and Place Into Templates
If you’re playing a fantasy or sci-fi game, you’ll find lots and lots of artists and producers of dedicated paper minis. Buy and download their files, print them off, and this step is taken care of for you.
But if you’re looking for very specific designs, or like me, are in a genre without dedicated paper minis (e.g. sixteenth century Europe where Long XVIth is set), then you need to find yourself some art.
As this is all a noncommercial venture for my personal use at the game table, I’m looking for public domain images (Victorian era art or even earlier!) as well as modern characters or art produced for books or games. Google Image Search is your friend here.
Once you’ve got your pictures, I recommend setting up a template of some sort to save your work to. I’ve created one in Photoshop, but you could do the same in other programs. Even Word or PowerPoint works here.
Clean the background from your images and give them a black border.
Keep in mind how you will base your minis. You may see from the image below that I use tabs similar to the “slotta” bases seen on many wargaming miniatures. This is because I am using Litko acrylic slotted bases designed for use with paper minis.
There are a number of basing conventions for paper minis. This is my approach, chosen so I can remove the minis from the base and store them more compactly. Permanently affixing a paper mini to a base loses some of the utility you gain from flat minis, to me.
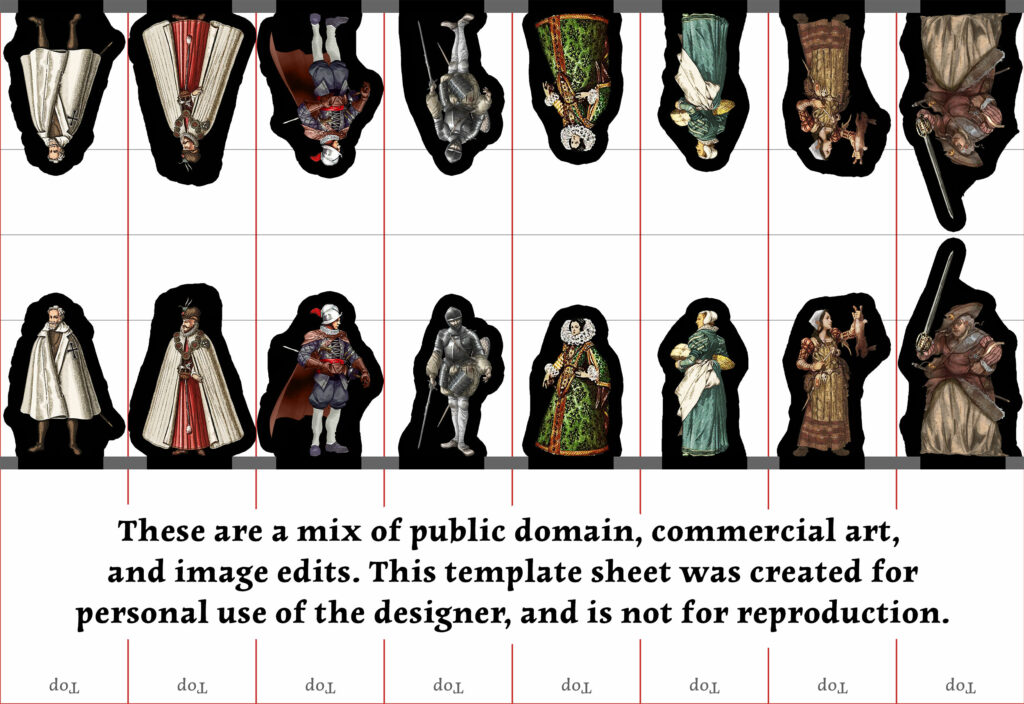
You see my template uses lines to call out the template borders, as well as a 32mm eye height and a top fold line. This is all an aid to keep miniature scale (roughly) consistent and to make assembling them easier.
The common template means I’m not using my paper as efficiently as possible, but the use of the template means producing multiple minis is much faster. Good trade off if you’re going to be making lots of paper minis.
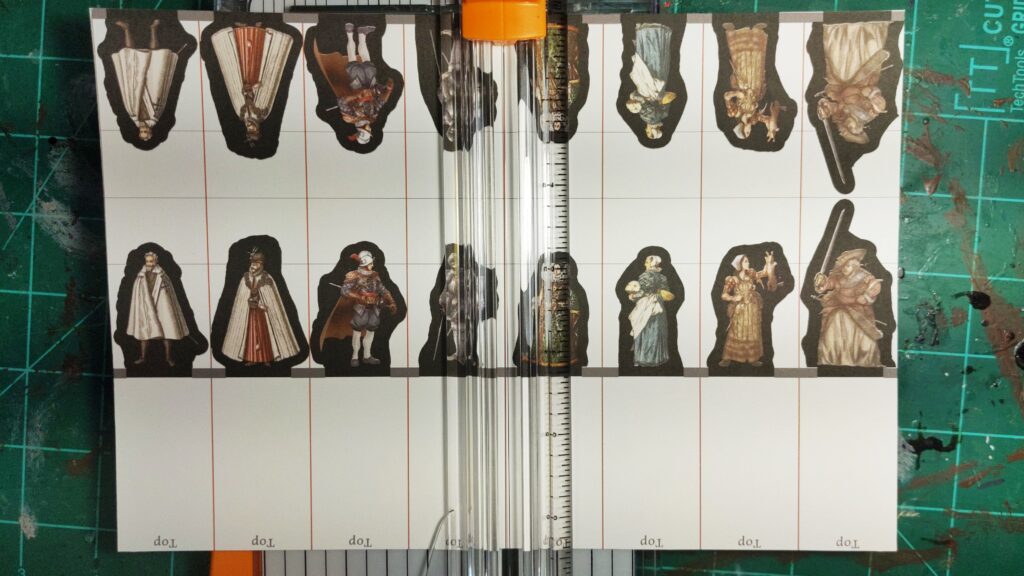
Step 2. Print and Trim the Template
You’re going to want 110lbs cardstock for this. Your printer at home should be able to handle that just fine. If you want fancy printing, take it to a print shop.
Buying a Fiskars paper trimmer (from Michael’s, Joann’s, Hobby Lobby, online, etc.) will save you a ton of time and patience if you’re going to make a lot of these. 10/10 would recommend again.
Step 3. Fold and Assemble the Individual Minis
Depending on your basing, you may need multiple layers of the cardstock. For the friction fit of the Litko slotta bases, I’ve found that three layers of the 110lbs cardstock is enough to hold the paper minis in sufficiently.
I’ve built in that inner third layer of paper into my templates.
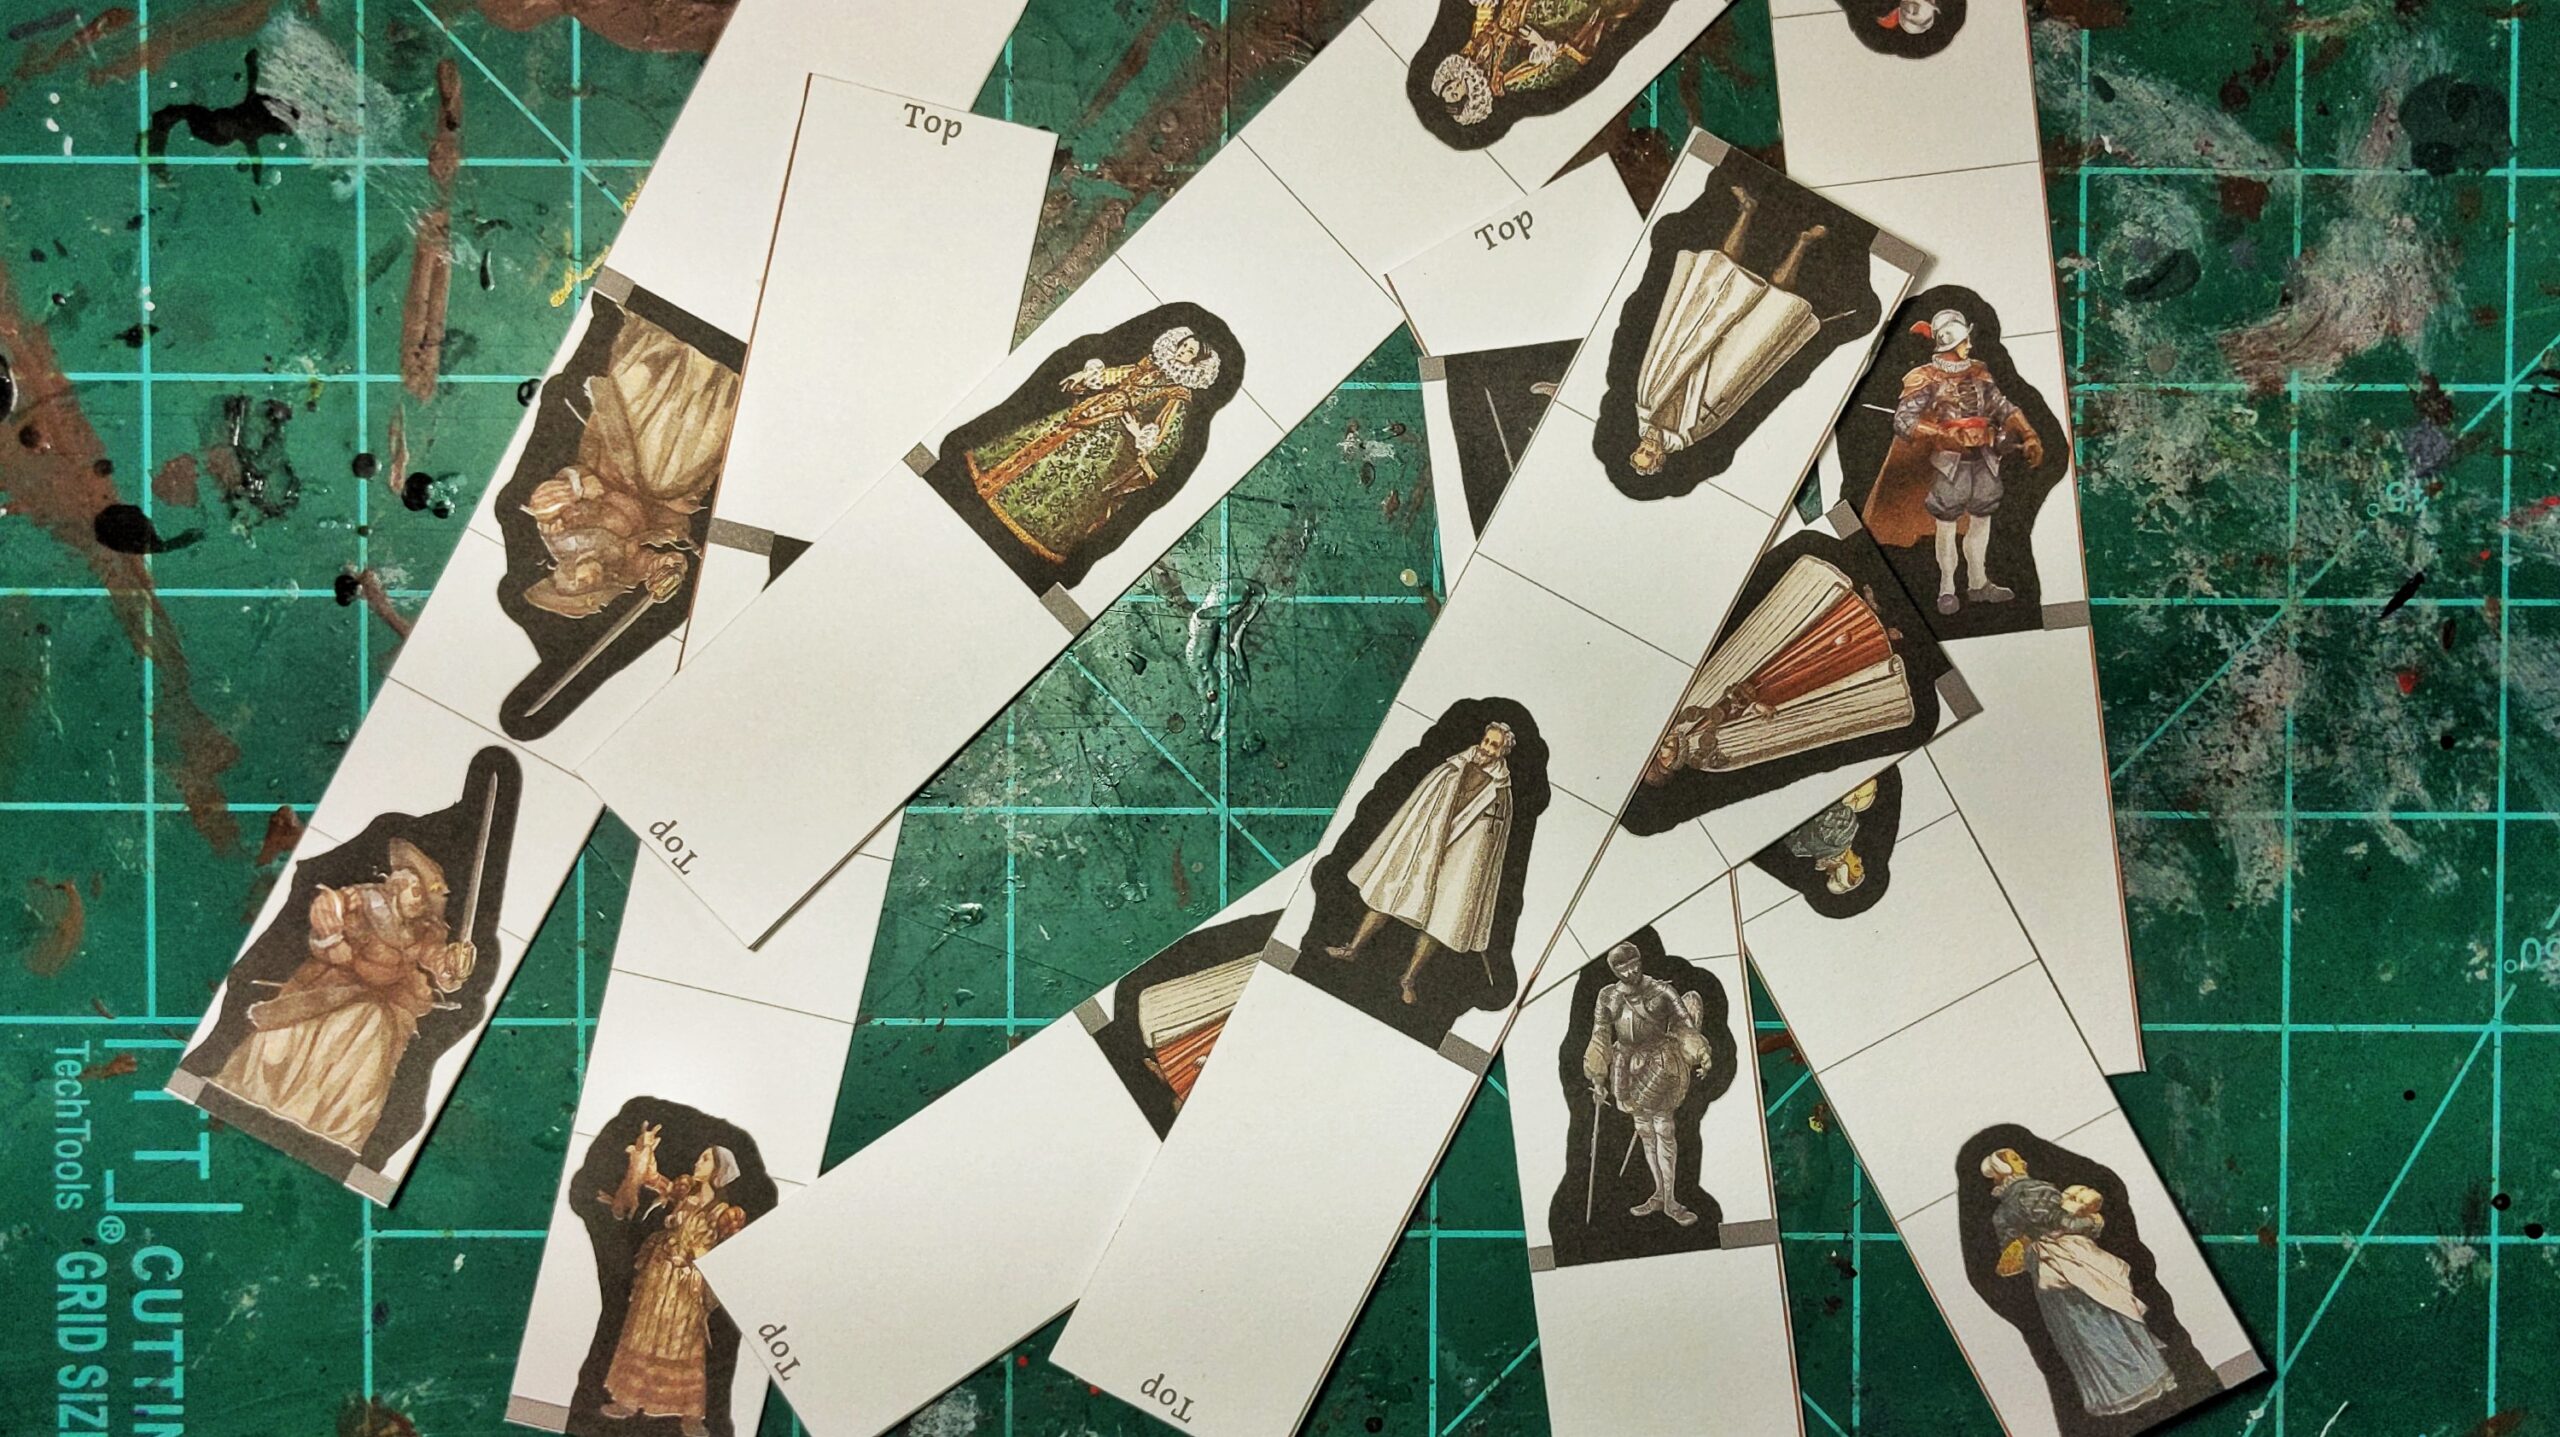
After you fold the individual character sheets, score the folds on the inside so they lay flatter.
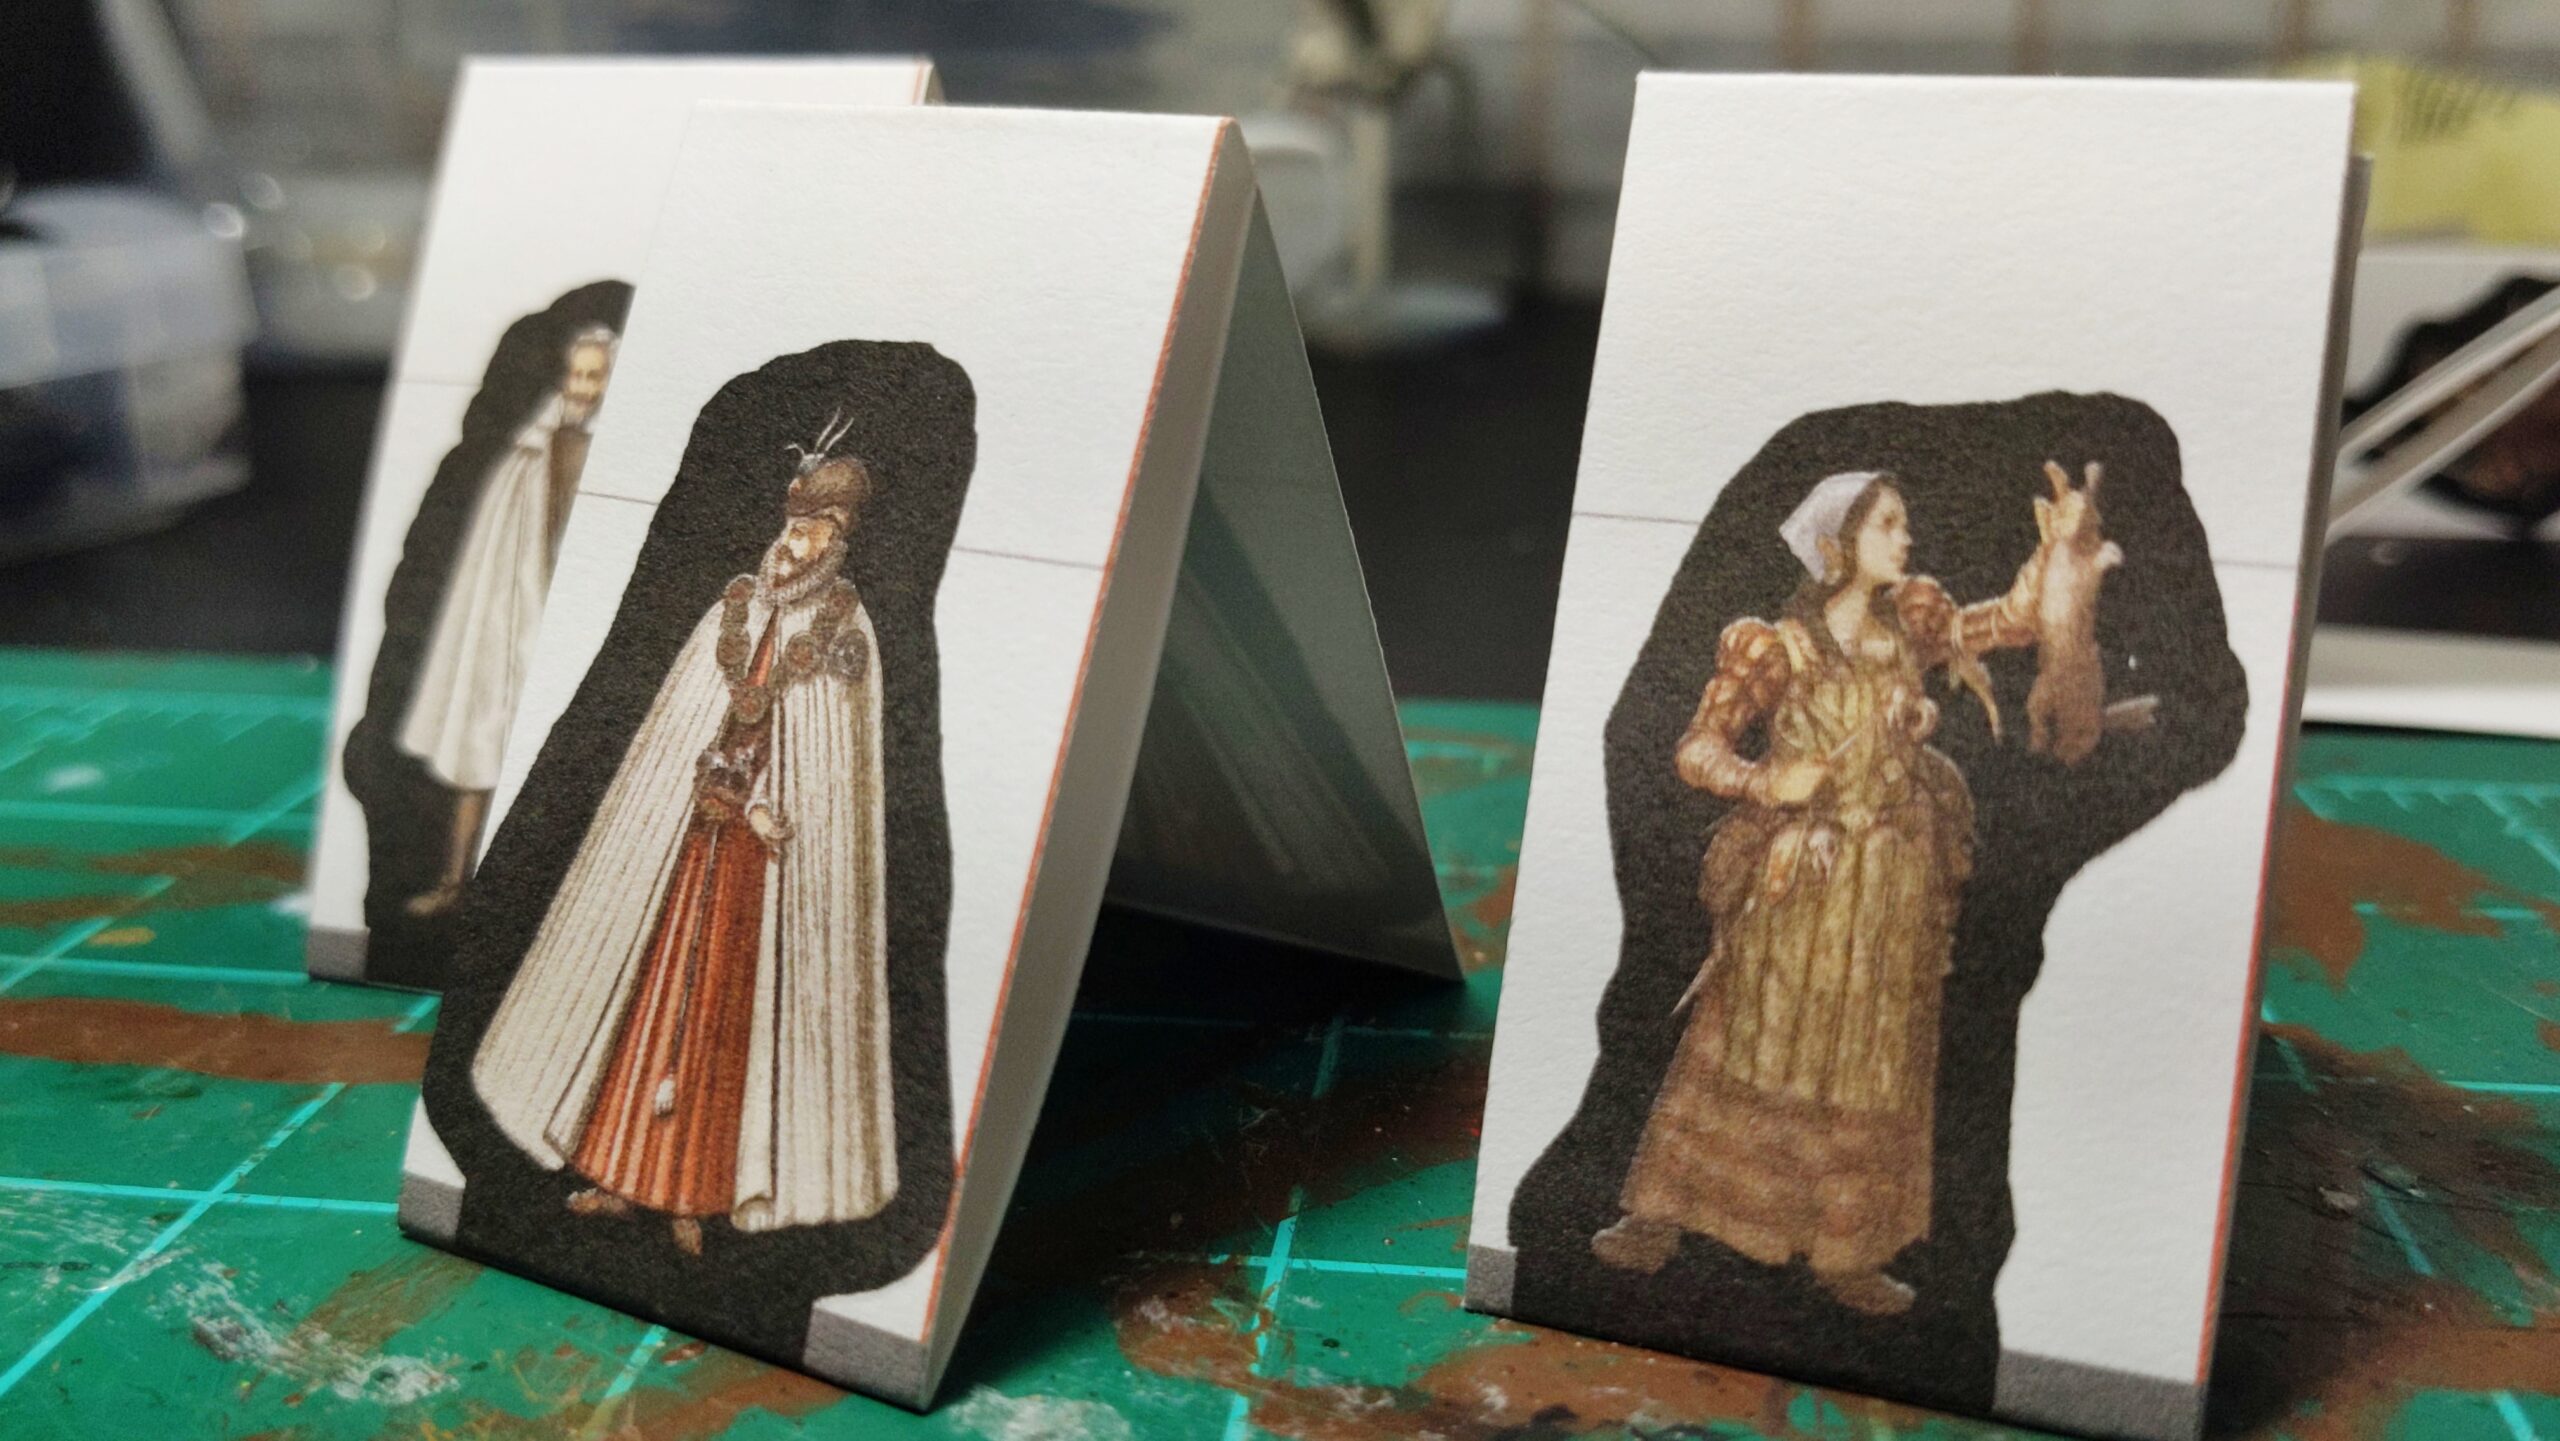
You should end up with folded minis that look like this:
Step 4. Commence Gluing
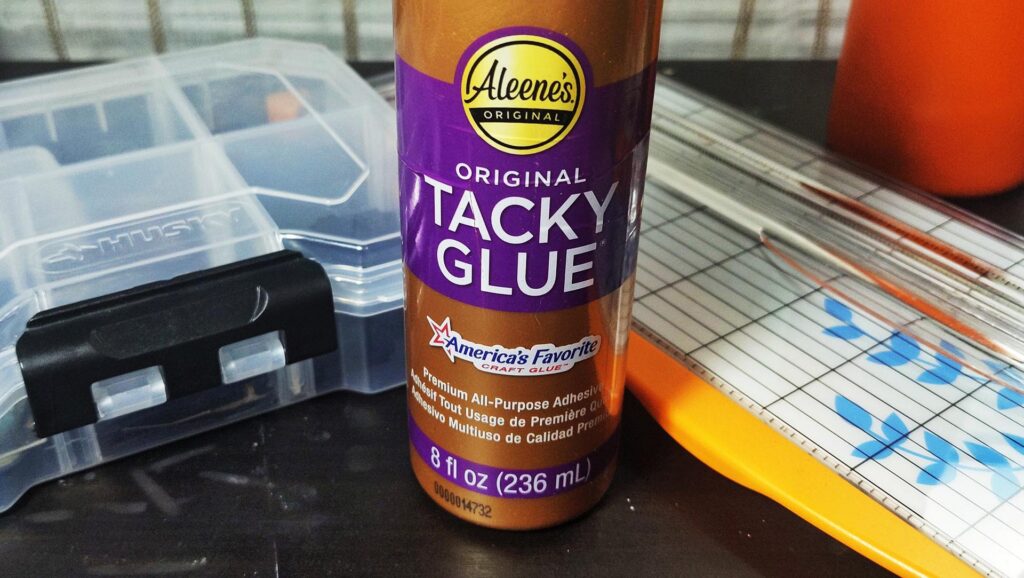
This is not the time for your standard Elmer’s Glue PVA.
You’ll want tacky glue. Dries faster, seems to hold more quickly in this application.
Step 5. Trim and Color the Border
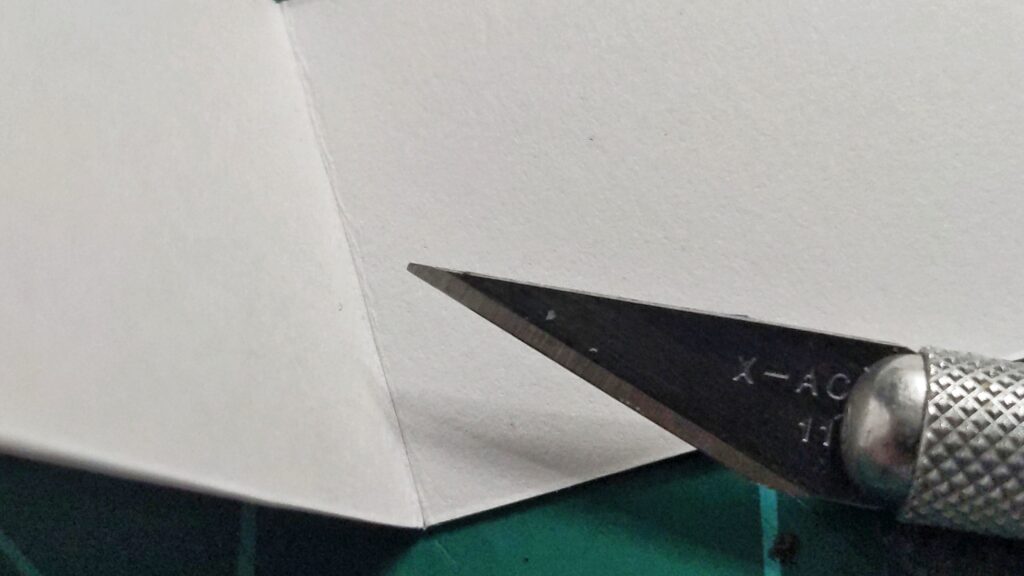
Let the tacky glue set for about ten to twenty minutes. The paper will still be pliable, but the glue will hold the layers enough to cut and trim. Use good scissors and an X-acto knife to get in around the details.

Color in the white edging of the minis with a Sharpie or other marker, then let them dry in their stands overnight or all day.
Step 6. Let the Minis Dry in Their Stands
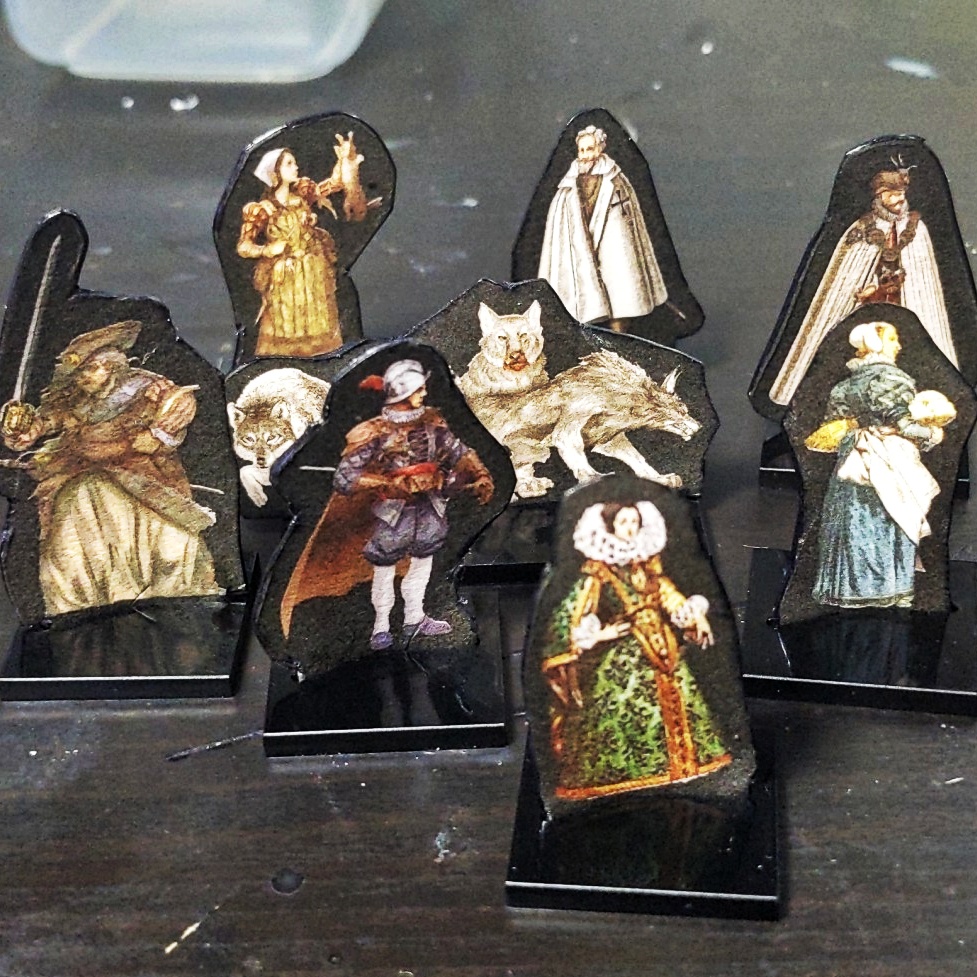
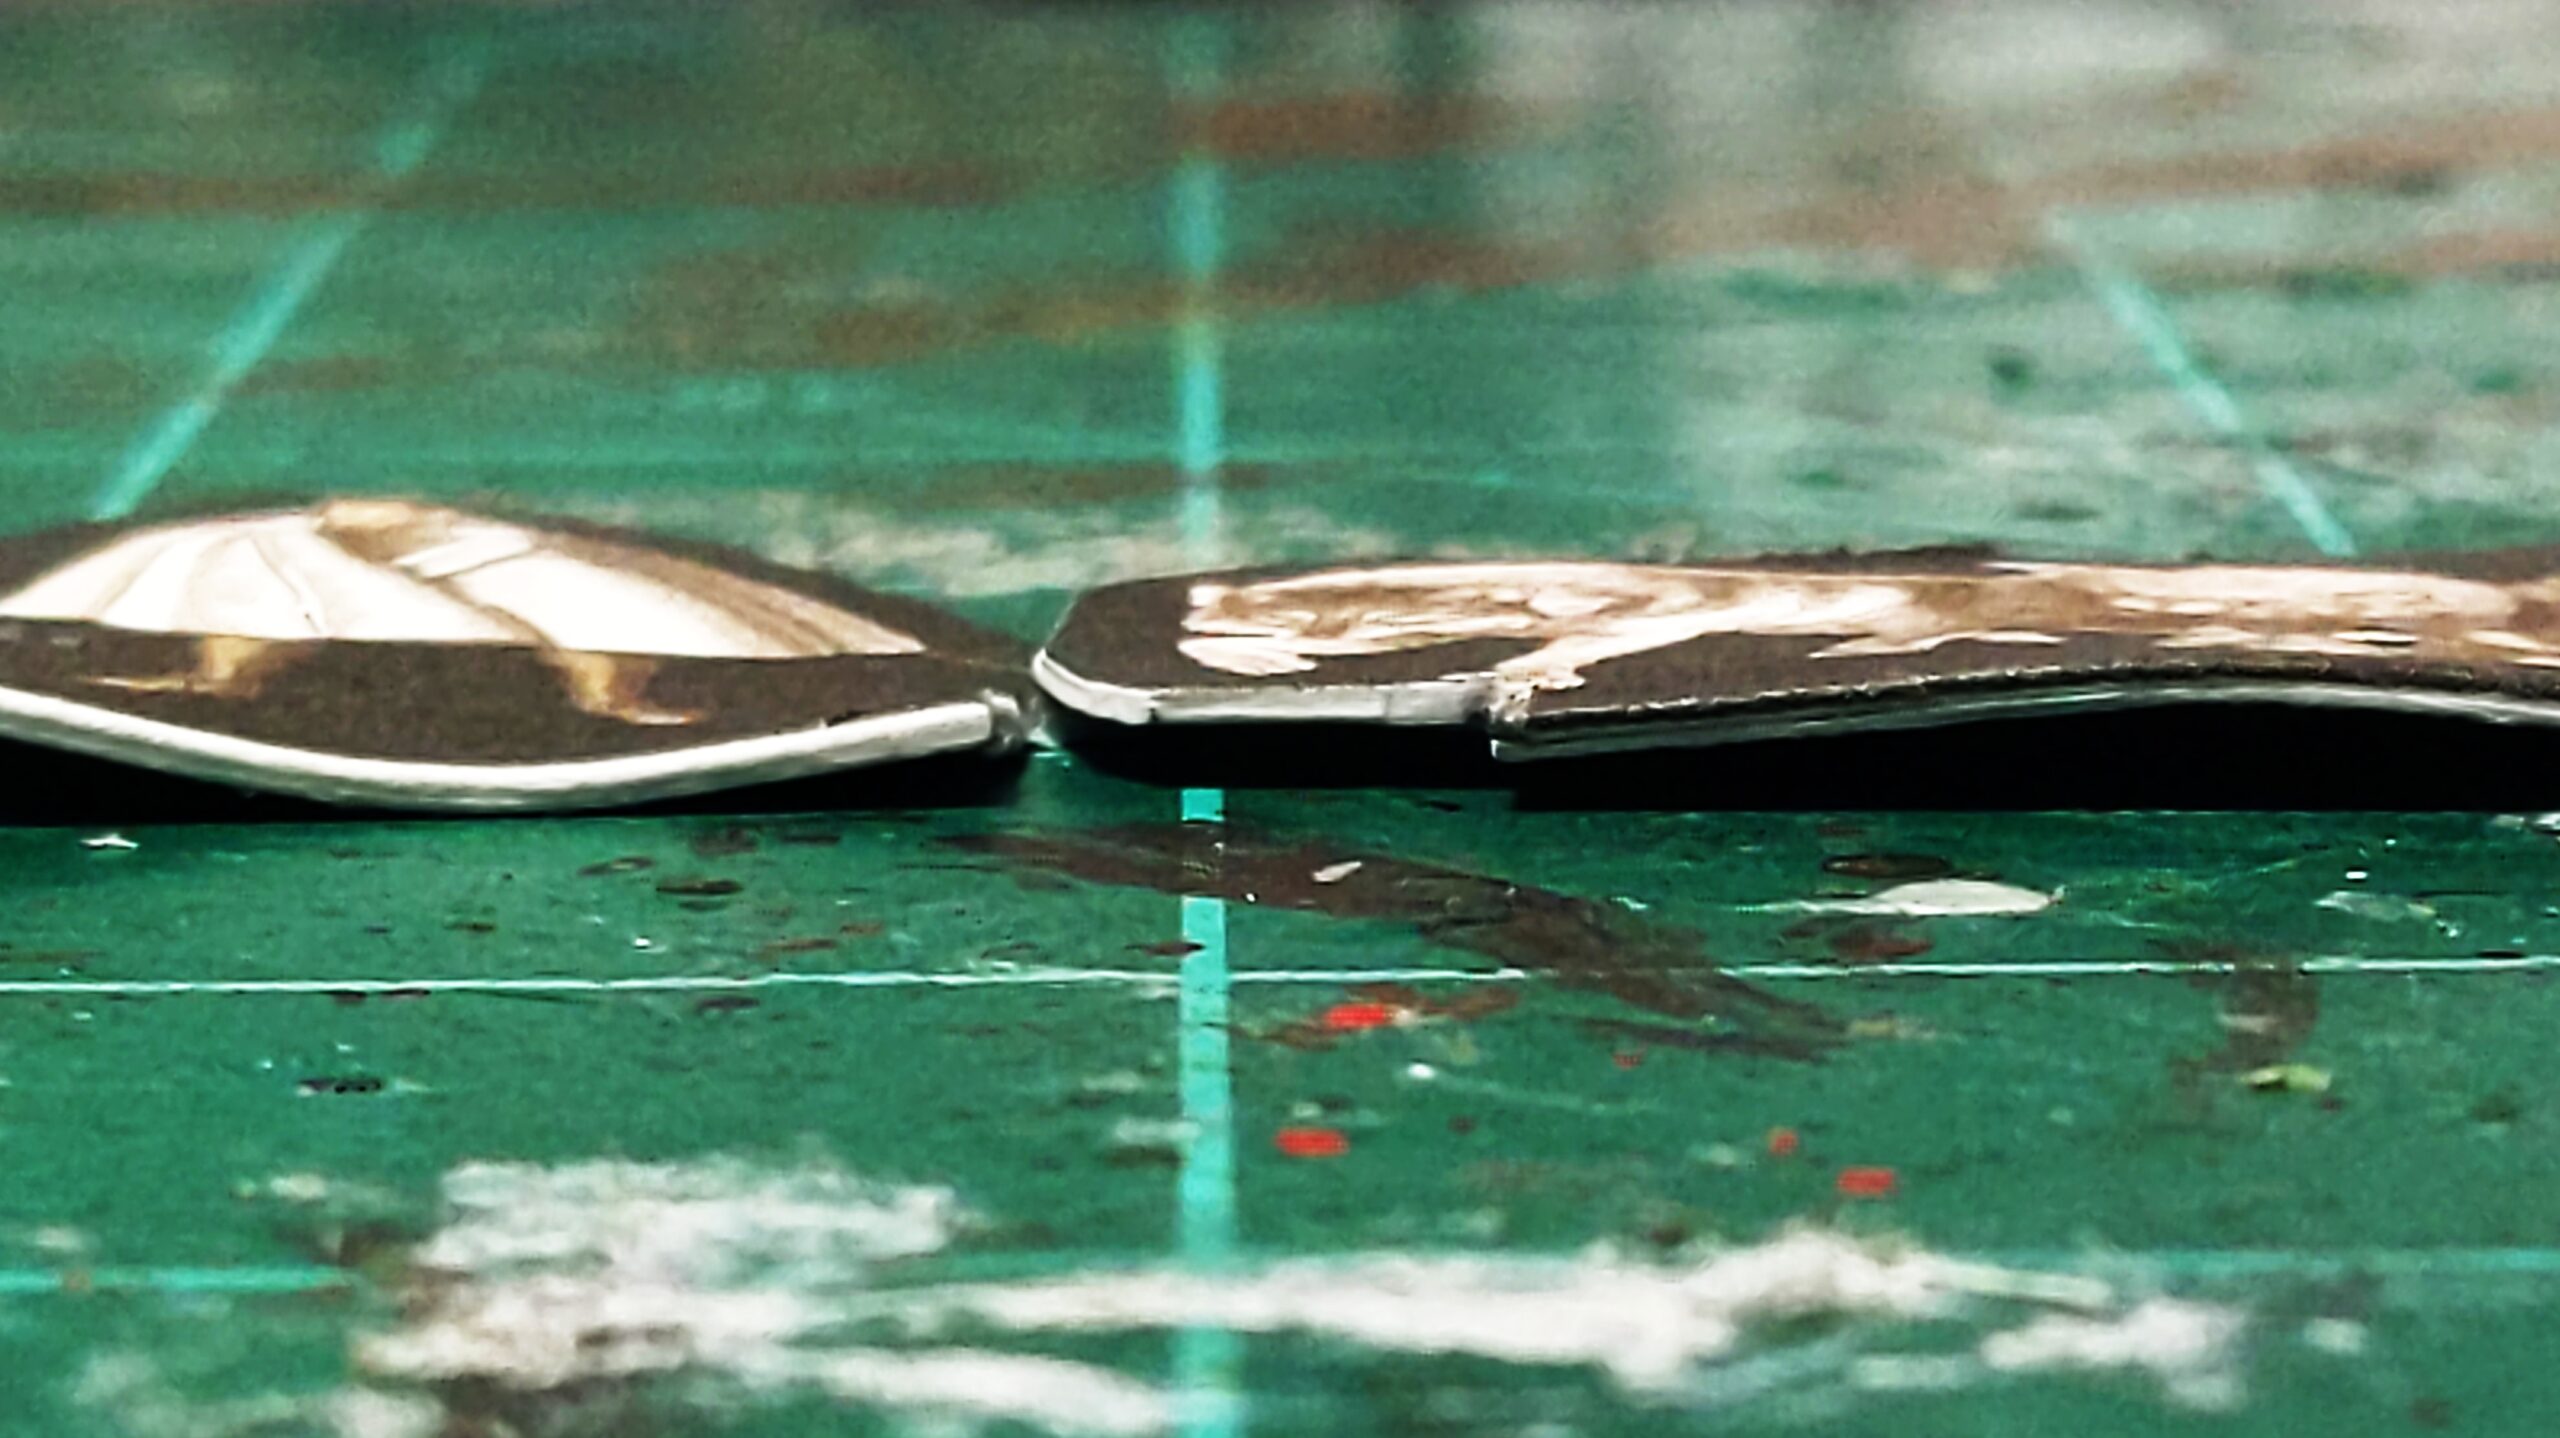
We let the minis dry in the stands, so that they take the shape of the slots.
As you see, the Litko slotta bases are curved. This helps with the friction fit, but a dry, hard paper mini won’t fit well. You want them to dry with the curve.
Step 7. Varnish or Seal the Minis (Optional)
You can play with the bare cardstock, but I prefer the extra protection and texture a heavy covering of gloss varnish gives the minis.
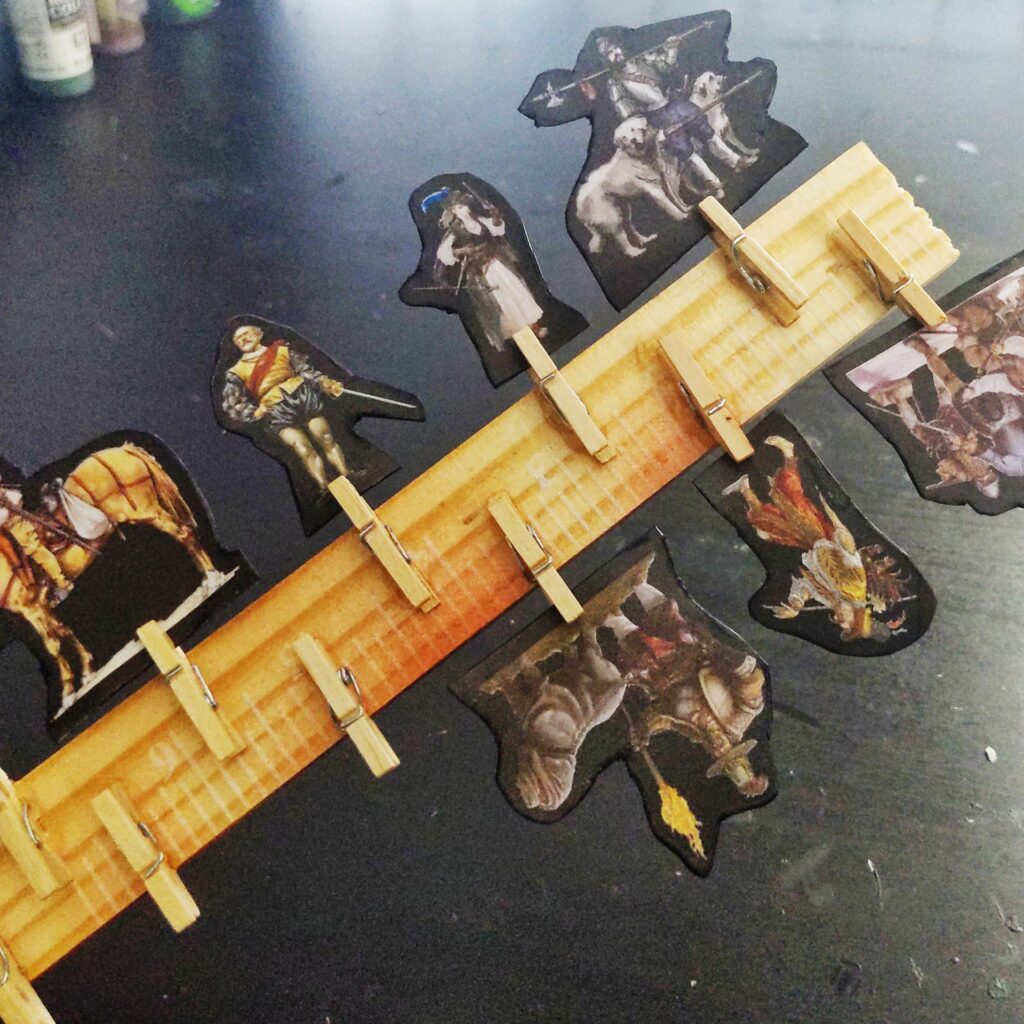
I’ve built a “macuahuitl” rig – a ruler with small clips glued in alternating succession to be able to hold and varnish up to twelve minis at a time.
Don’t be light with your varnish: the cardstock will soak up the spray, so coat both sides several times to get a decent sheen and good coverage.
Leave the rig to dry.
Your Minis are Now Complete!
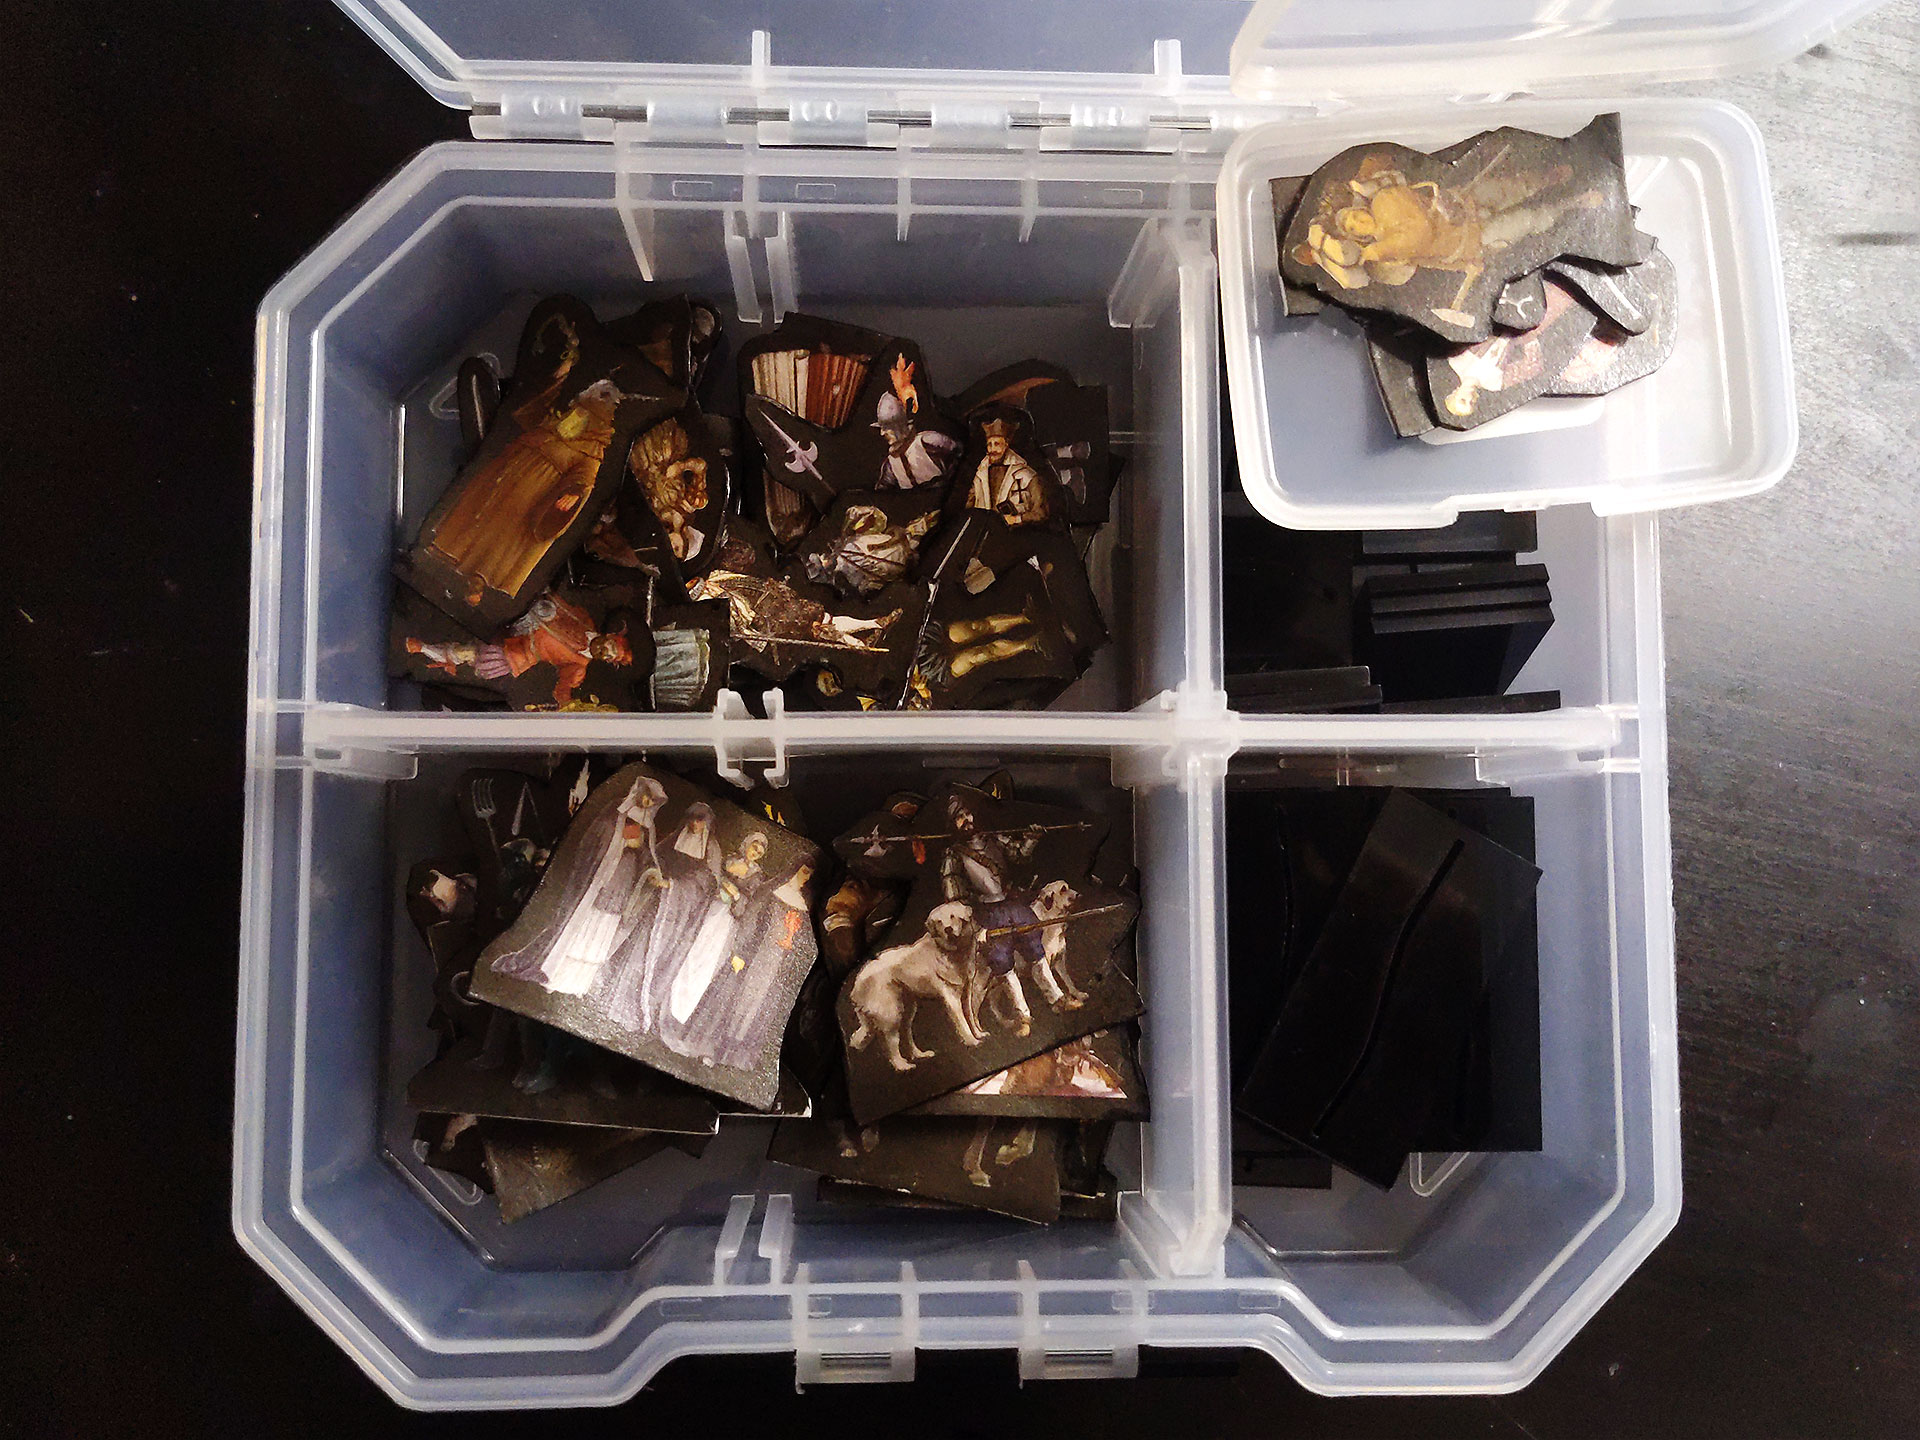
Find a way to store your minis and then go enjoy them at the table!
I use a small organizer box, with a separate small container for the PCs, specifically. This makes all the minis easy to store and transport – and all with a very small footprint. Less organized than keeping them in a binder, but I’ll take the space savings.
All in all, I’ve been very pleased with my first foray into paper miniatures for RPGs. I’ll still keep assembling and painting (poorly) my 3D minis for miniature wargames, but for role playing games, I think the versatility and speed with which you can get paper minis to the table means I’ll be taking that approach in the future.
Your idea for making your own paper minis is fantastic! I am a GM for Rifts (from Palladium abooks) and I need to make some minis. I plan on trying your system. One question, would you be willing to provide a link to your templates or sending via email (25mm and 50mm)? I could teally use the assistance with that. Thanks again for an amazing idea!
Victor.
Ah, RIFTS! I’ve fond – and still confounding – experiences of the cyborg goblin I played in that game. The actual template I use is a messy Photoshop .PSD. If you’re comfortable working in that program (or software that can use .PSDs), I’m happy to email a copy over. If else, I’ll need to noodle around on what would be a helpful, usable approach.
Rifts is a LOT of fun. Cyborg Goblin … I will have to use that aginst my players! Sure, PSD is fine – I open and edit with GIMP. Thanks!
jakodar at gmail
Victor