As I’ve returned to my small scale pike and shot project with this move up to 10mm, I’ve been looking on a method to quickly and efficiently base my figures that still looks visually appealing and realistic.
e.g. No figures on green or khaki-painted bases and calling it a day.
However, there are ultimately a lot of units I’ll need to base, and I need an approach that is fast and loose. No sand or ground. Nothing fiddly.
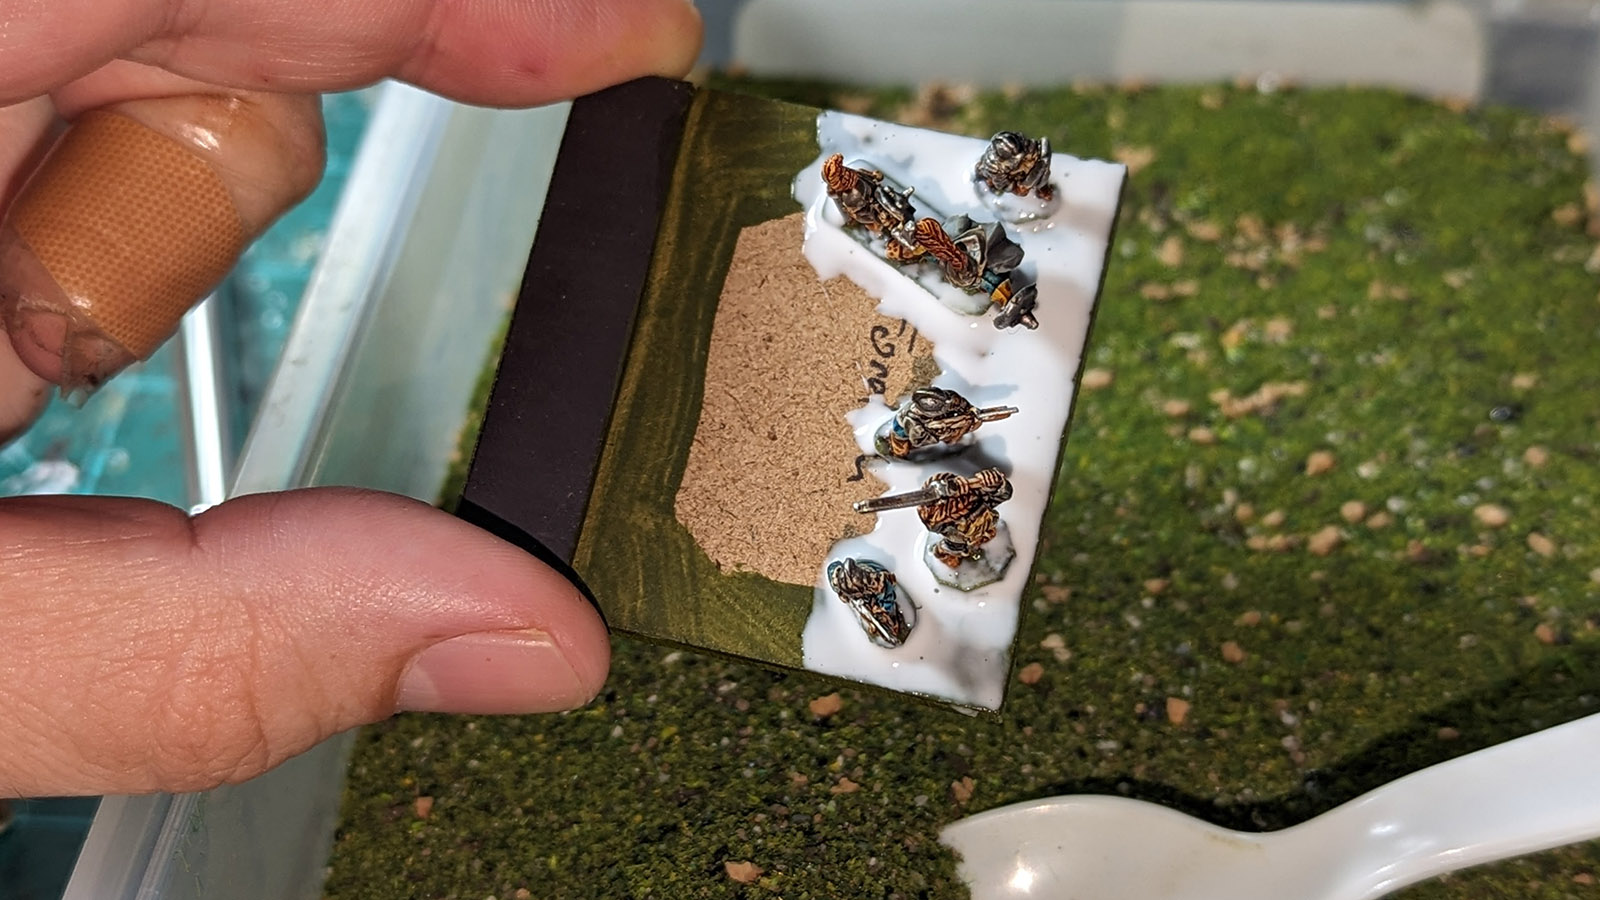
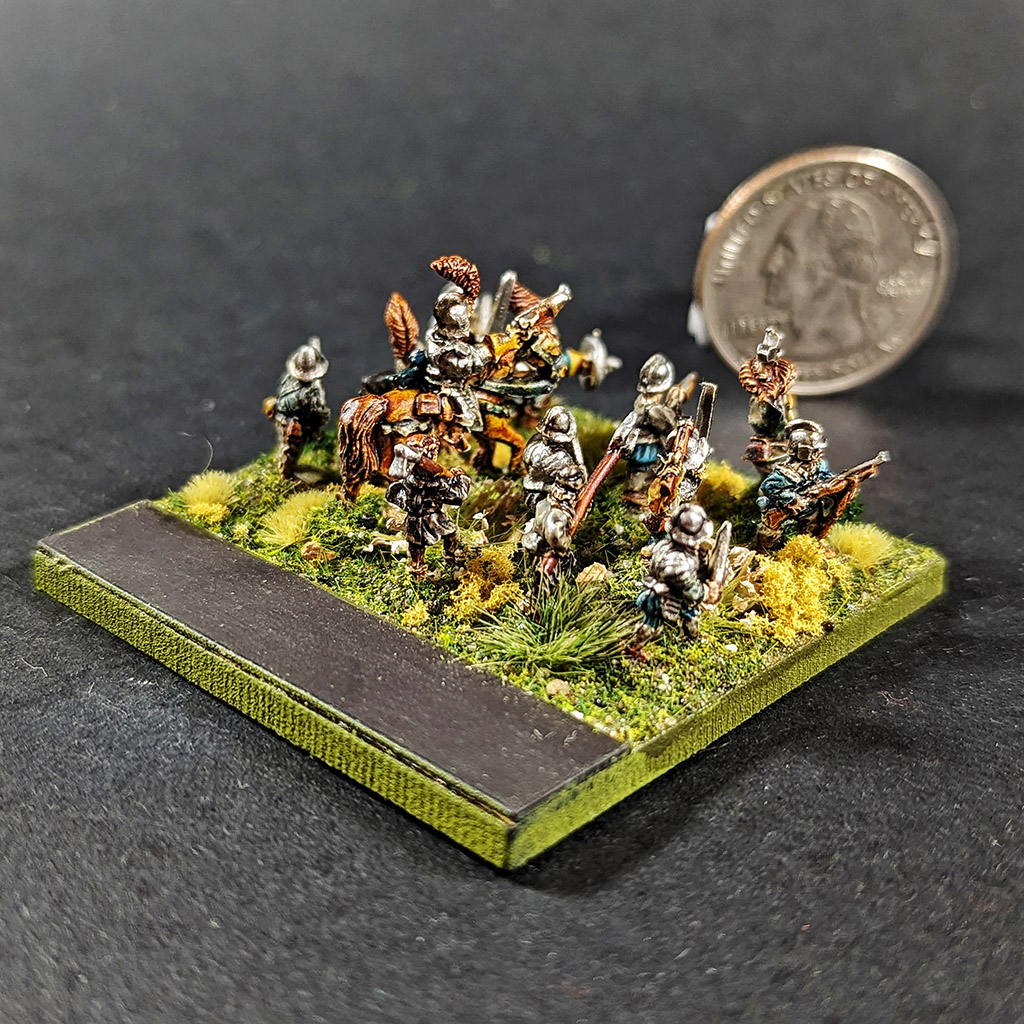
I think I’ve settled on an approach. I’ll detail it step by step with this small base (50x50mm) of a “forlorn hope.”
Easy Small Scale Basing
This approach assumes that you have a. finished, painted models, and b. have selected your base material of choice. I am using custom cut HDF bases from Joerg at Things from the Basement.
1. Prepare Your Base
I’m using HDF. Though not as prone to warping as MDF, it’s still a risk, so I apply a spray paint and primer combo to the sides and underside of my bases that (roughly) matches my battle mat ground texture.
Then, I use model acrylic paint to go over the sides and around the borders of the top of the base. This is to provide color coverage for any spots around the edge of the base that don’t take the flocking well (it sometimes happens).
I don’t tend to paint the overall top of the base. All of the interior gets well covered by the minis and the flocking. But the edges? That’s hedging my bets.
(You’ll note that I’m applying 10mm strips of magnetic sheeting to the back of my bases on this project. This is to put identifying labels on the units during play. I affix these magnets at this step.)
2. Test Fit Your Layout
Before I start slinging glue, I test my layout first. This is less important for big masses of figures that all are placed in a line, but for haphazardly gathered skirmishers like a forlorn hope? Fiddly with your arrangement of minis first.
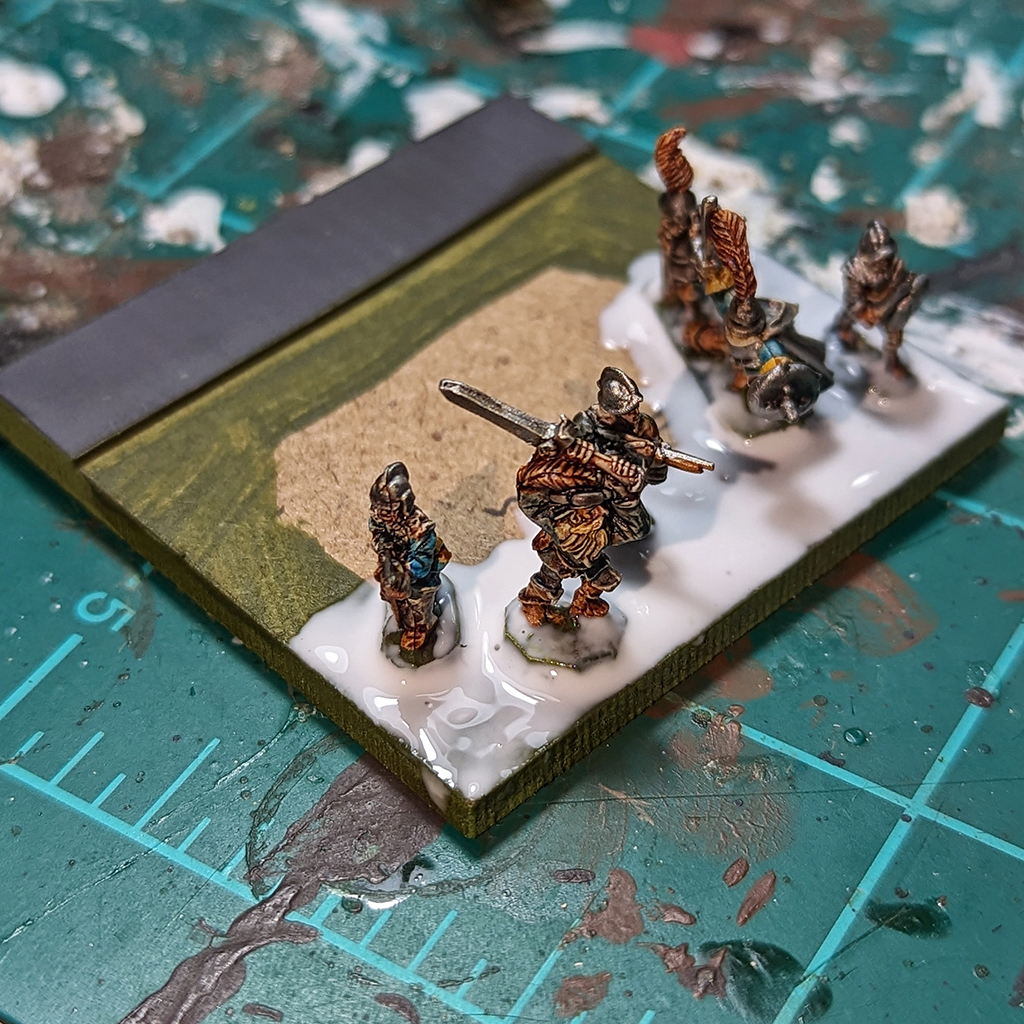
3. Base the First (or Last) Row, Then Apply PVA to the Base
This is an important point: getting access between these small figures is difficult once multiple ranks and rows and densely packed figures get placed.
Don’t glue down all your minis at once. Start with a few, like one side, or the front or back rows. This will make it much easier to apply your flocking in the following step.
Once the minis are on the base, use a PVA glue of your choice (I prefer tacky craft PVA) to spread around your minis. Make sure to anticipate where your next minis are going and leave room for them with the glue.
4. Sprinkle on Grass Flocking
I skip applying a base layer of sand or grit entirely at this scale. At arm’s length on the tabletop, I’ve not found its inclusion to make a meaningful difference in modelling a grass-covered, European summer battlefield.
Your project’s setting may dictate otherwise.
But skipping a base layer of sand (and the priming, painting, and sealing that comes with it) creates a lot of time savings.
Instead, I apply my grass flock directly to my base (this is where the color-matching painting edges helps obscure any gaps). I use a 50:50 mix of Woodland Scenics Blended Turf Green Blend and Lukes APS Base Ready Taiga Hillside.
I keep it all blended up in a snap-top container and apply with a spoon (less messy than using your fingers or dipping into the basing material directly).
Once dumped onto the base, I’ll use various small, pointy tools to move the flock around to cover my base. You’ll end up with something like this:
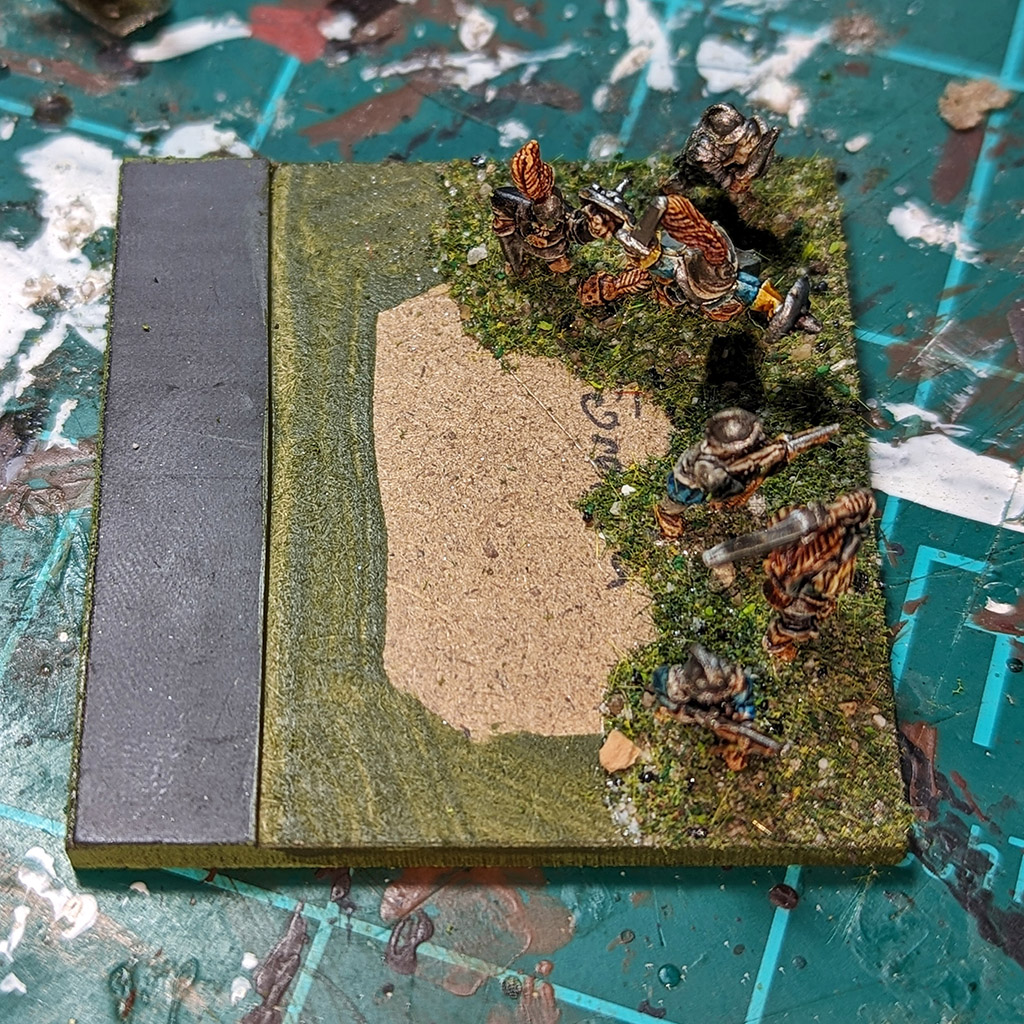
With a small subset of your figures now based, it will be much easier to get your flocking and other basing materials placed down around the next set of figures you add.
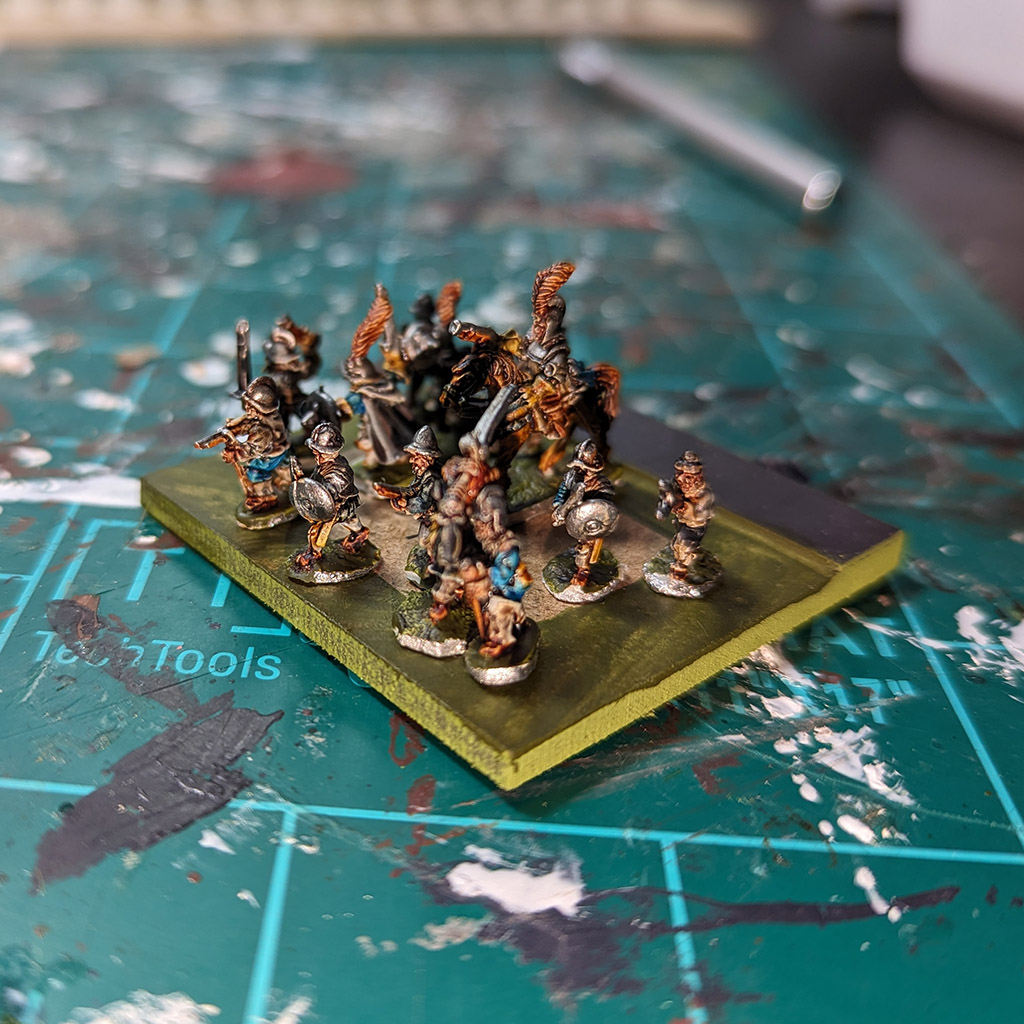
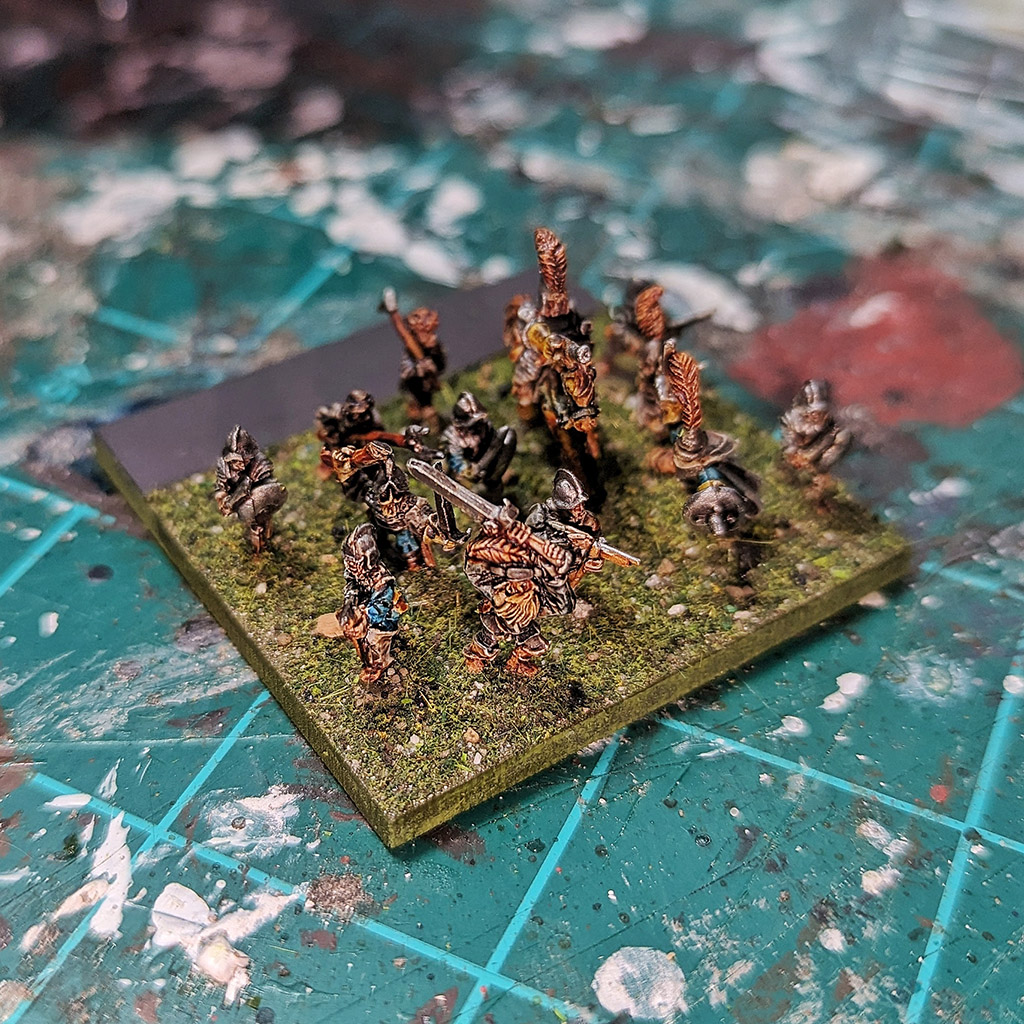
5. Repeat Adding a Few Figures at a Time, Then Gluing and Flocking
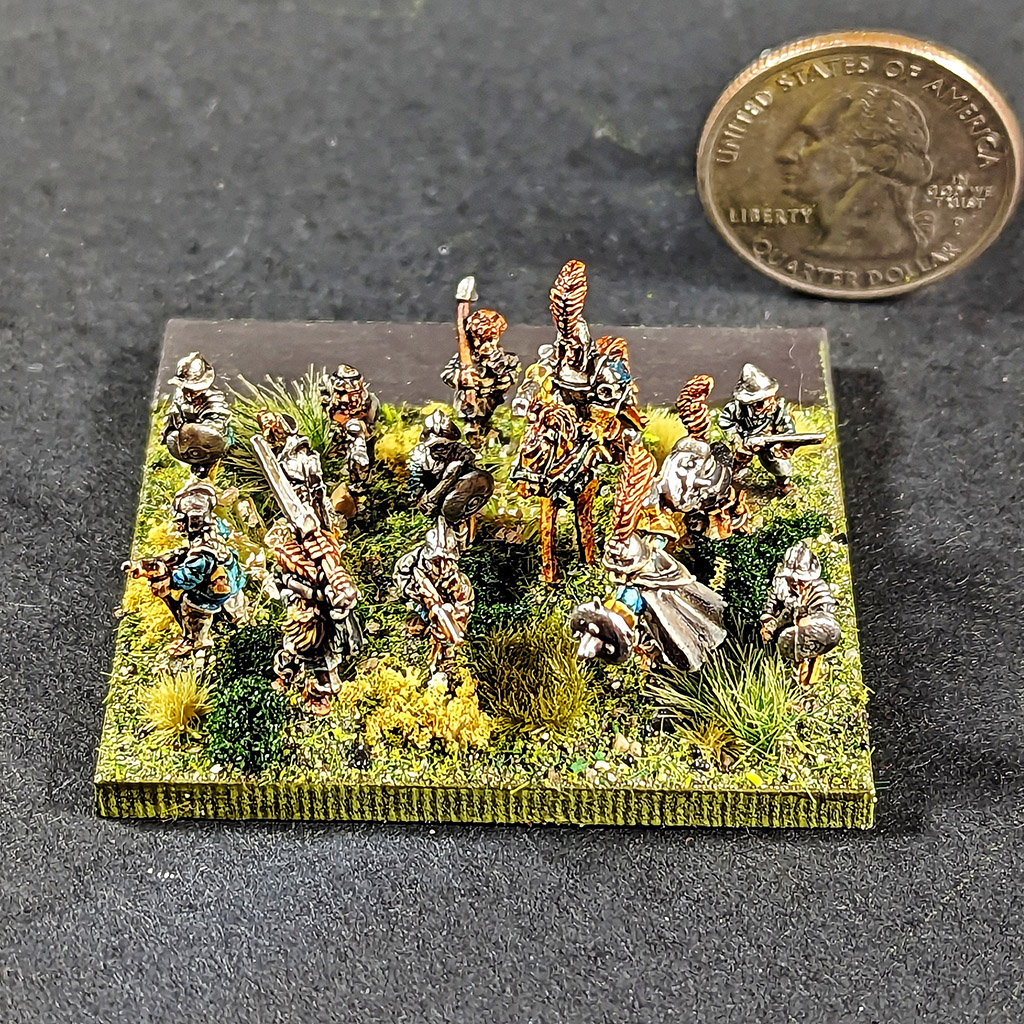
Continue the above steps until you get all your figures based and flocked. You will end up with something like this:
6. Add Accent Basing Materials as Desired
Though Luke’s APS Base Ready mixes add a lot of variety, I’m still a fan of additional vegetation on my bases. This is a relatively quick step, but can be optional if you’re in a rush or supremely focused on efficiency.
I’ll add tufts of grass, foam, Woodland Scenics dry weeds material, and flowers to round out the grassy summertime look.
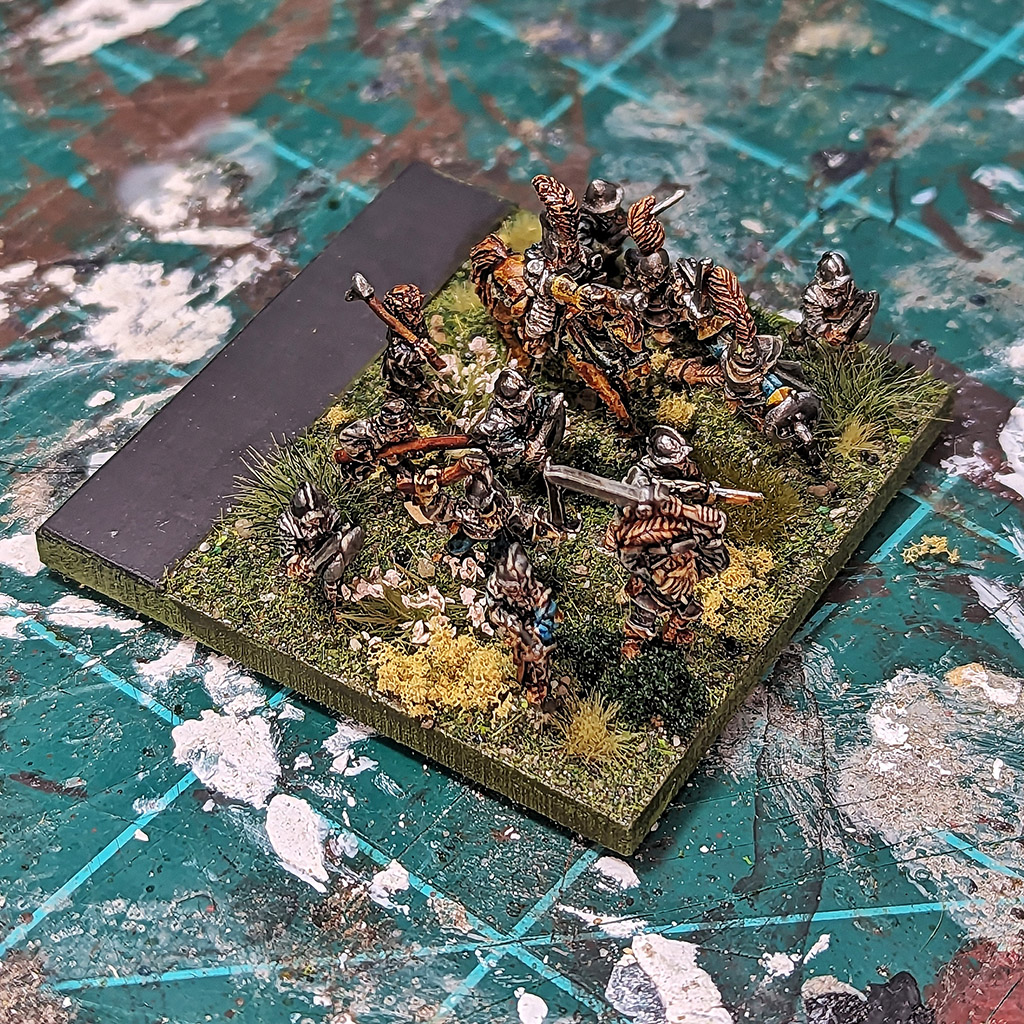
8. Spray with Matte Sealant
Cover lightly with a few passes of the matt sealant of your choice (I’m partial to Army Painter’s Anti-Shine Spray), and you’re all done!
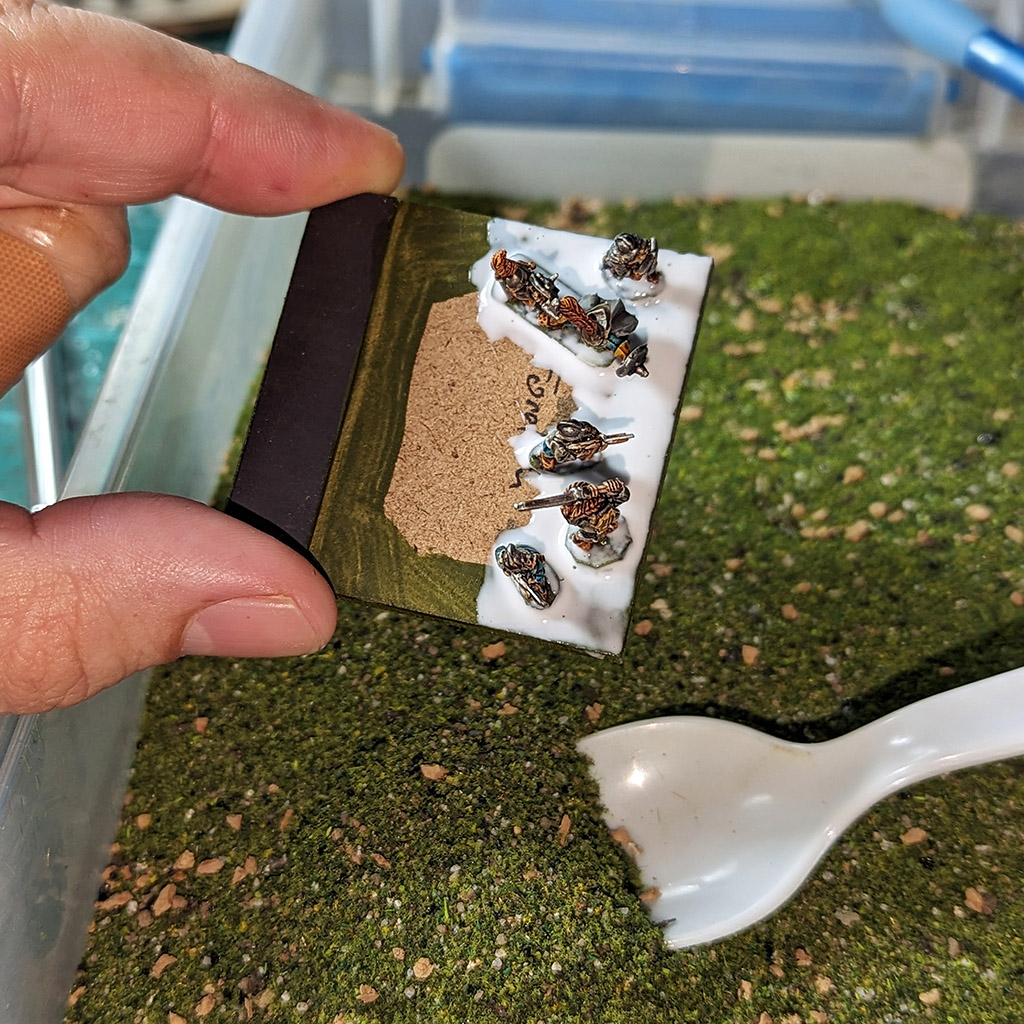
The Final Product
Following all of these steps should give you something looking like this base of Forlorn Hope.
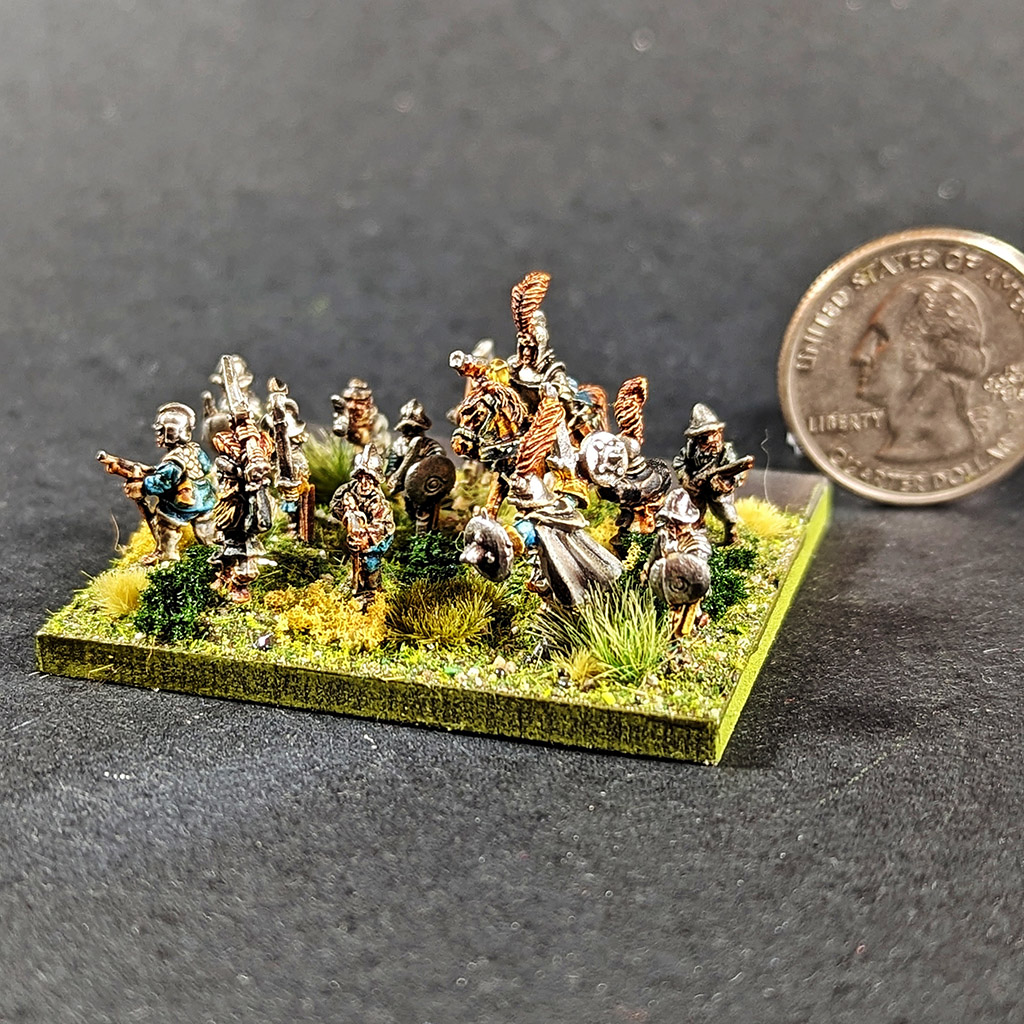
(Important caveat: I’m not a great mini photographer, especially at this scale.)
Does this help? Have you found any helpful hacks to speed up your basing of small scale wargaming projects with lots (and lots and lots) of bases? Let me know.