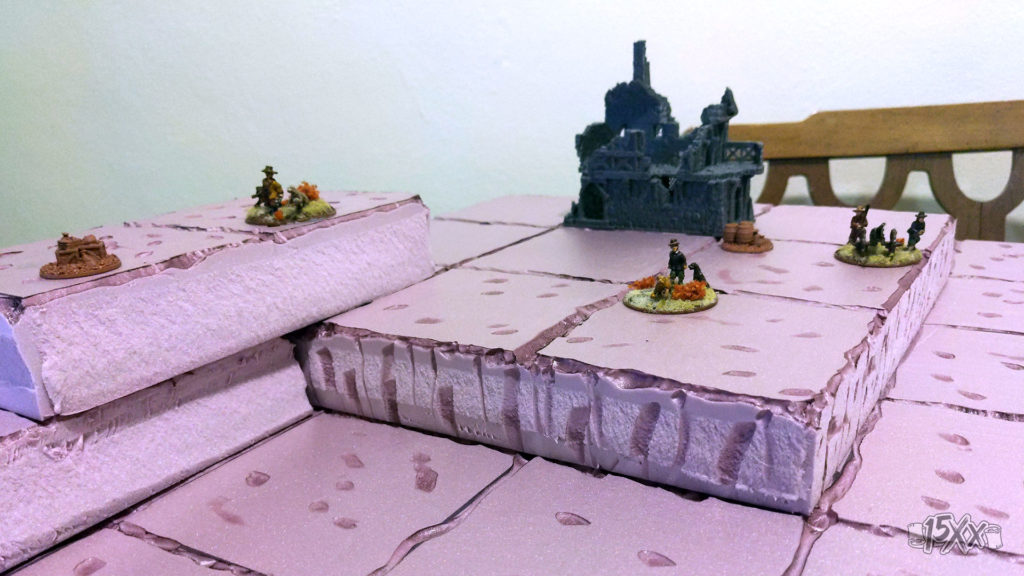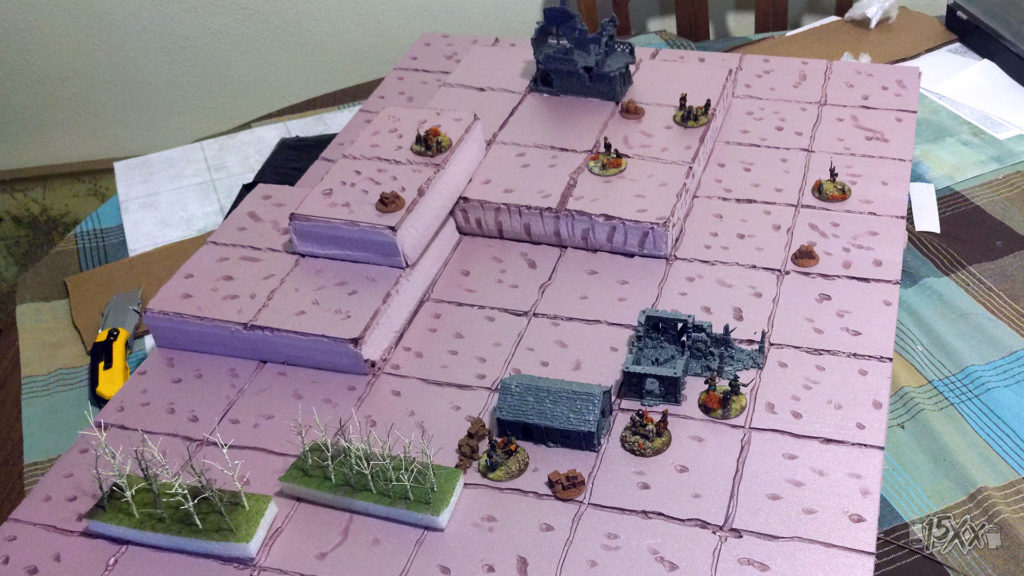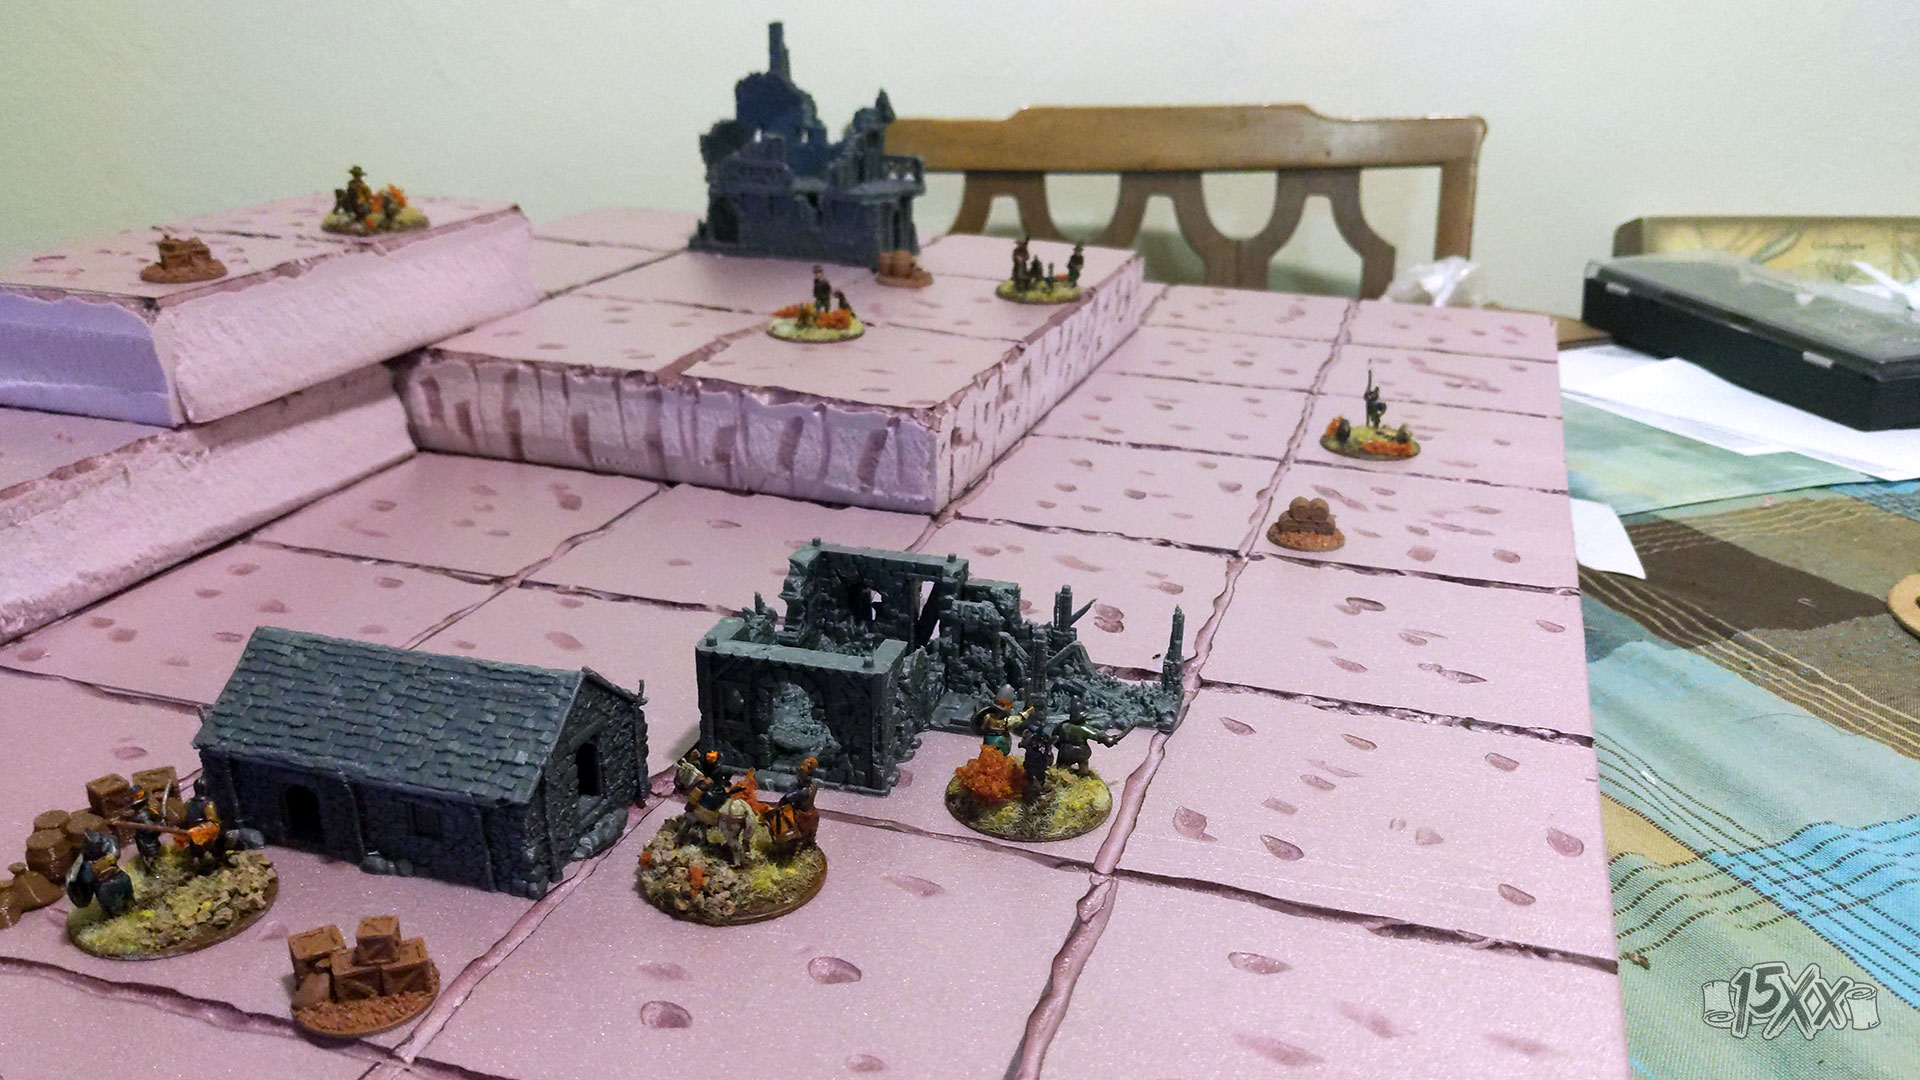
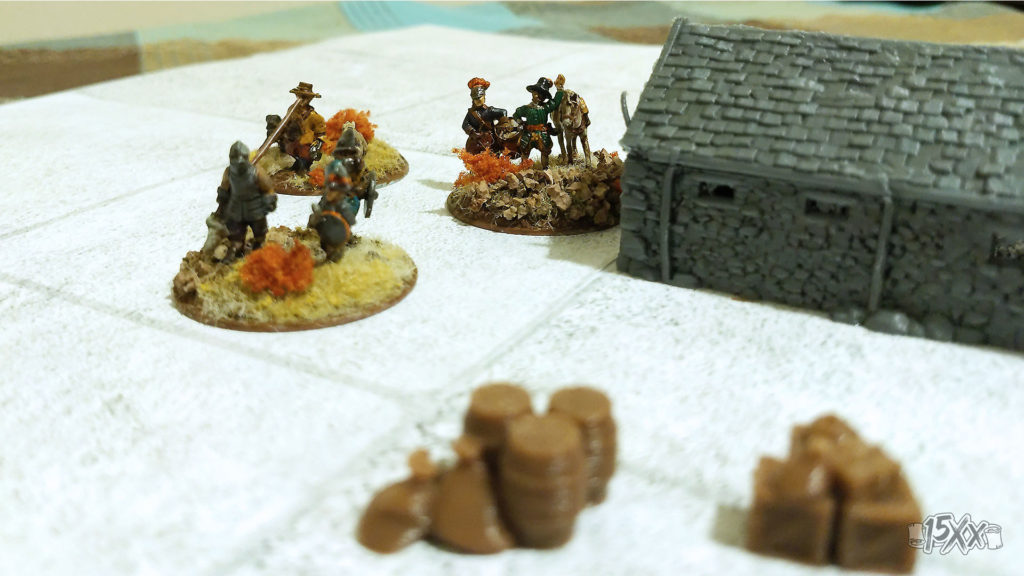
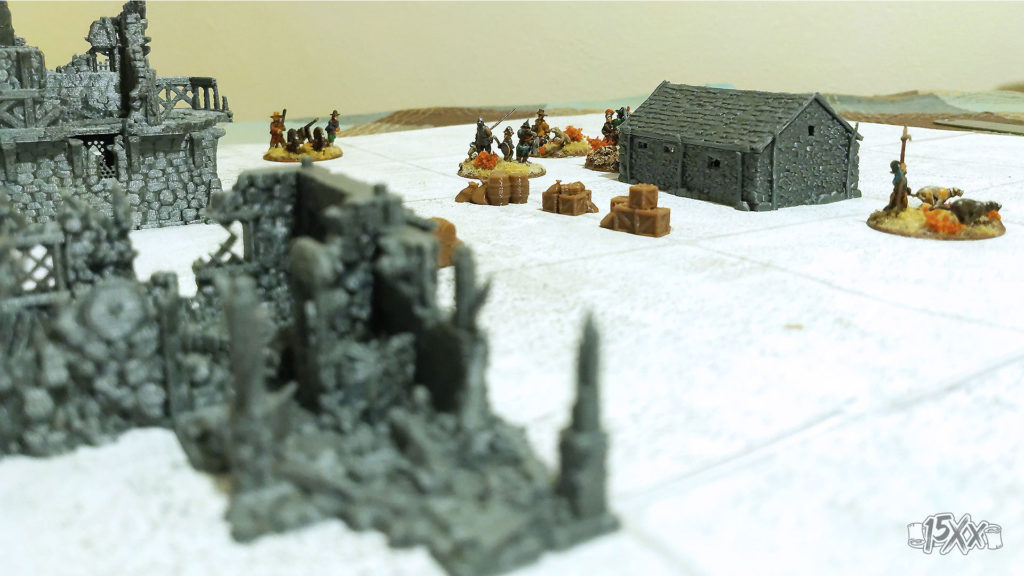
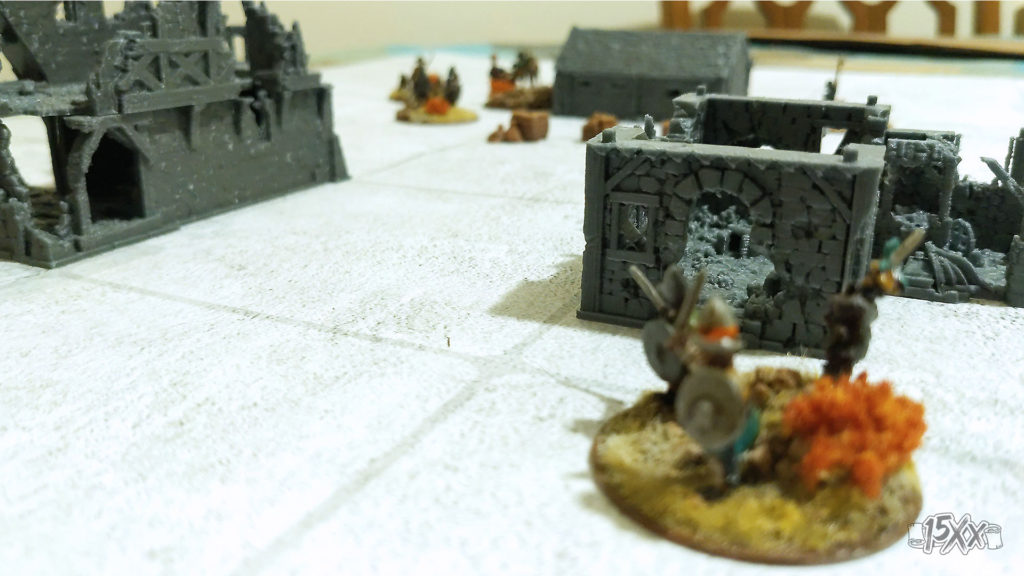
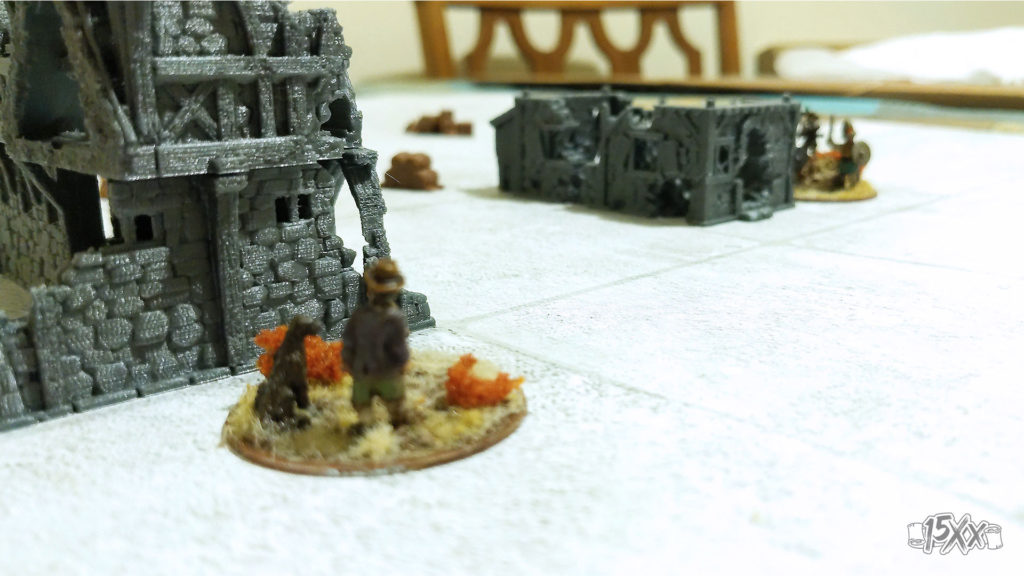
Work on the project has been focused on the terrain. I’ve never built any terrain or a gaming board. So, it’s not fancy, but I’m happy with it so far.
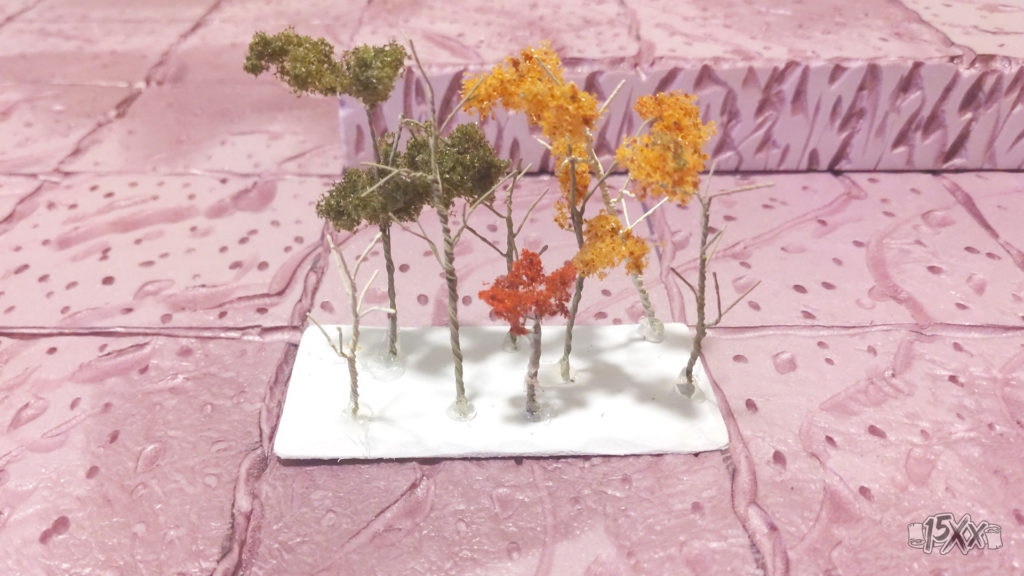
Trees are all pre-mades or premade armitures with foliage clumps. Likewise, the buildings are 3D prints which I am speed painting pretty quick in order to get things on the table.
Still more terrain pieces to get in and then assemble, but as as start, I’m pretty happy with it.
Step One: The Grid
What can I say? I like the ease of play that comes with a grid system. No rulers, no fiddliness about pivoting and base-to-base contact. Just move to the grid and call it good.
After making a couple of test layouts, I’m settling with a generously sized four inch grid and have settled on a 3×2′ board. Economy of space is one of the goals here, which is also what’s driving the 15mm figure scale. Some early notes and ideas on that grid:
- Multiple units will be able to occupy the same grid
- Figures can move to any accessible space within that grid; traditional line of sight rules will apply
- Figures will need to be able to fit some percentage of their base through an opening or doorway to pass through an obstruction (a conceit given the multi-base approach)
- Still working out how verticality works and counts against movement
Initial Board and Terrain Building
Once I was happy with grid and board size, I started work on a dedicated board.
I didn’t take enough photos or document my process as well as I should, but… there are plenty of other tutorials out there.